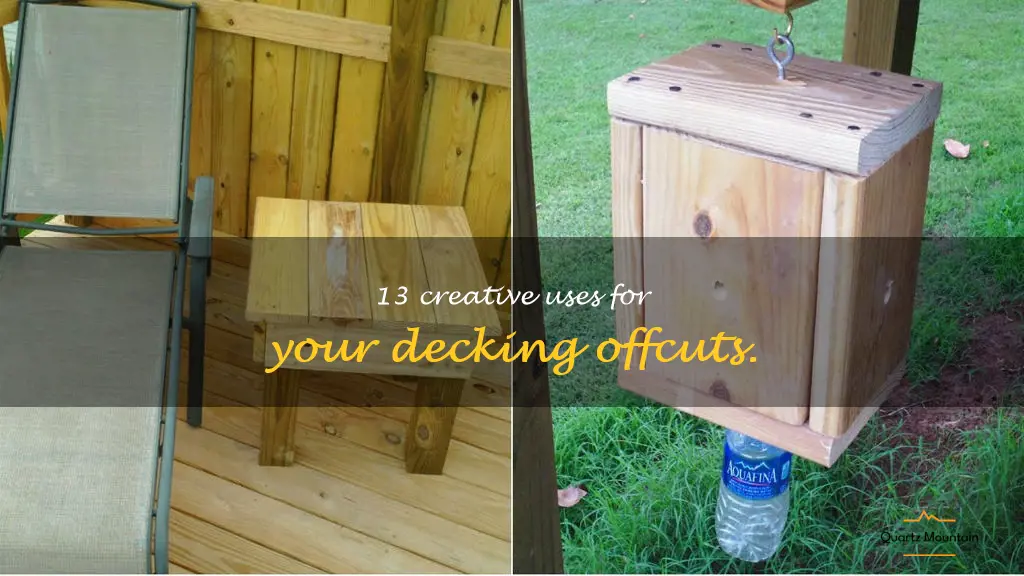
Whether you're refurbishing your deck or building one from scratch, there's always leftover material that you're left scratching your head over. Fortunately, these decking offcuts don't have to go to waste! From creating unique furniture pieces to adding character to your outdoor space, there are endless possibilities for repurposing these bits of wood. In this article, we'll explore 13 creative uses for your decking offcuts that will inspire you to think outside the box and make the most of your leftovers.
What You'll Learn
- Create a DIY garden bench
- Build a stylish planter box
- Design a custom pergola
- Craft a decorative wall hanging
- Construct an outdoor table and chairs
- Make a unique birdhouse
- Create a cozy fire pit area
- Build a trellis for climbing plants
- Fashion a sleek privacy fence
- Craft a rustic outdoor bar
- Design a playful swing set
- Build a sturdy playhouse for kids
- Create a custom dog house
![]()
Create a DIY garden bench
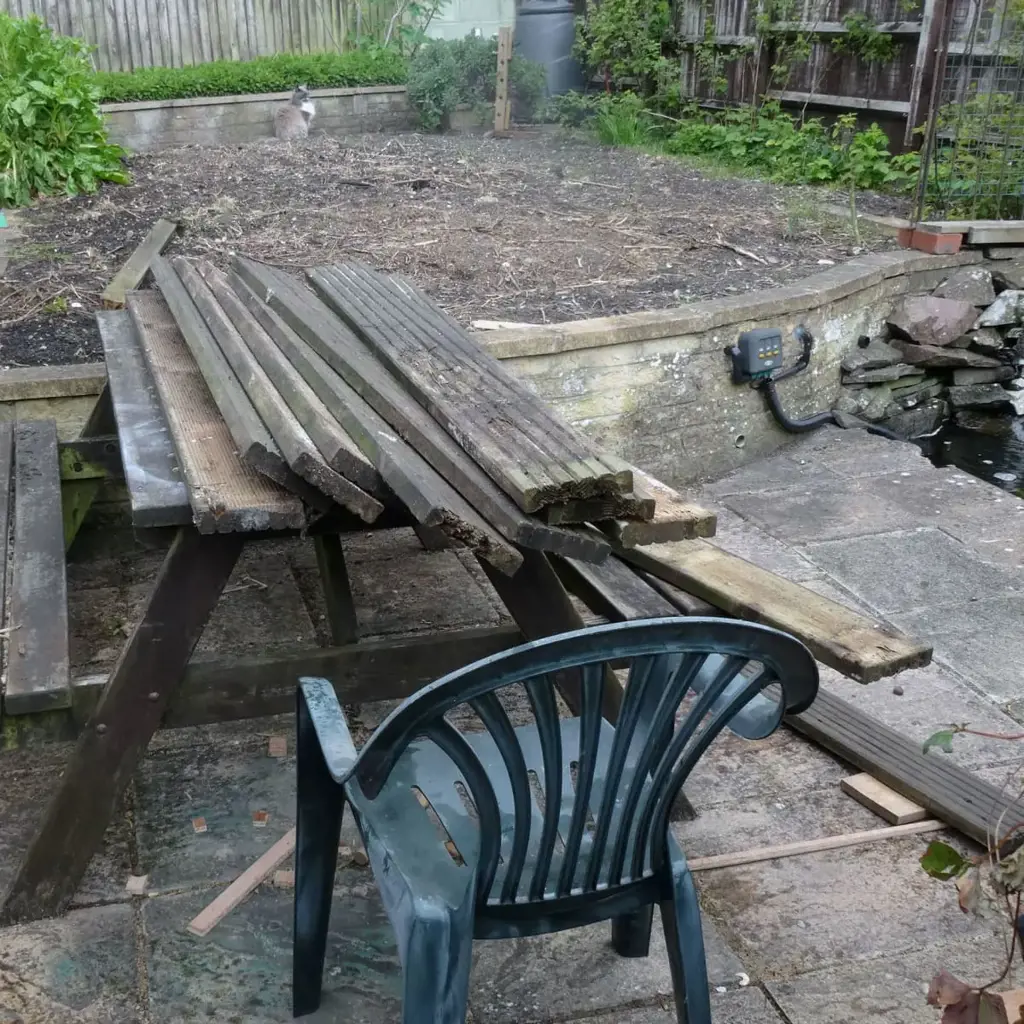
If you have recently undertaken a garden decking project and have some decking offcuts leftover, don't let them go to waste. There are many creative things you can do with those offcuts, and one of the most practical ones is to create a DIY garden bench. A garden bench will provide a comfortable seating area in your garden and add to the aesthetic appeal of your outdoor space. Here's how you can create a garden bench using decking offcuts:
Materials Required:
Decking offcuts of varying sizes
Two sawhorses
Saw
Screws
Screwdriver
Tape measure
Pencil
Step 1: Determine the size of your bench
Before you start cutting the decking offcuts, you need to determine the size of your bench. Measure the area where you'll be placing the bench and decide on the length and width of your bench. You can make your bench as big or small as you want, depending on the space available.
Step 2: Cut the decking offcuts
Once you have determined the size of your bench, it's time to cut the decking offcuts to the required length. Use a sawhorse to support the decking offcuts and cut each piece to the desired length using a saw. Make sure the cuts are even, and the pieces are square.
Step 3: Lay out the decking offcuts
Once you have cut all the decking pieces, lay them out on a flat surface to create the seat for your bench. Arrange the decking offcuts in the desired pattern, making sure they fit together snugly. Use a tape measure to ensure that the offcuts are positioned evenly.
Step 4: Screw the decking pieces together
Once you are satisfied with the arrangement of your decking offcuts, it's time to screw them together. Use screws to attach the pieces to each other, making sure the screws go through each piece of decking. Use as many screws as you need to ensure the seat is firm and sturdy.
Step 5: Create the legs of the bench
To create the legs of the bench, cut two pieces of decking offcuts to the desired length. These will be the vertical supports for the bench. Position them at either end of the seat, so they are perpendicular to the decking pieces. Screw them into the seat using screws, making sure they are perfectly upright.
Step 6: Create the base of the bench
To create the base of the bench, cut two more pieces of decking offcuts to the same length as the vertical supports. These will be the horizontal supports for the bench. Position them towards the bottom of the vertical supports and screw them in place, ensuring they are parallel to the ground.
Step 7: Finish the bench
Once you have created the base of the bench, use the remaining decking offcuts to create a backrest for the bench. This can be as simple or as intricate as you like. You can also stain or paint the bench to match your existing garden décor.
With the above steps in mind, you now have a garden bench that you can use for relaxing, reading, or enjoying your garden. You can create multiple benches using your decking offcuts and position them wherever you like in your garden. This DIY project is not only environmentally friendly, but it's also a fantastic way to add value to your outdoor living space.
10 Amazing Things to Do in Vitebsk
You may want to see also
![]()
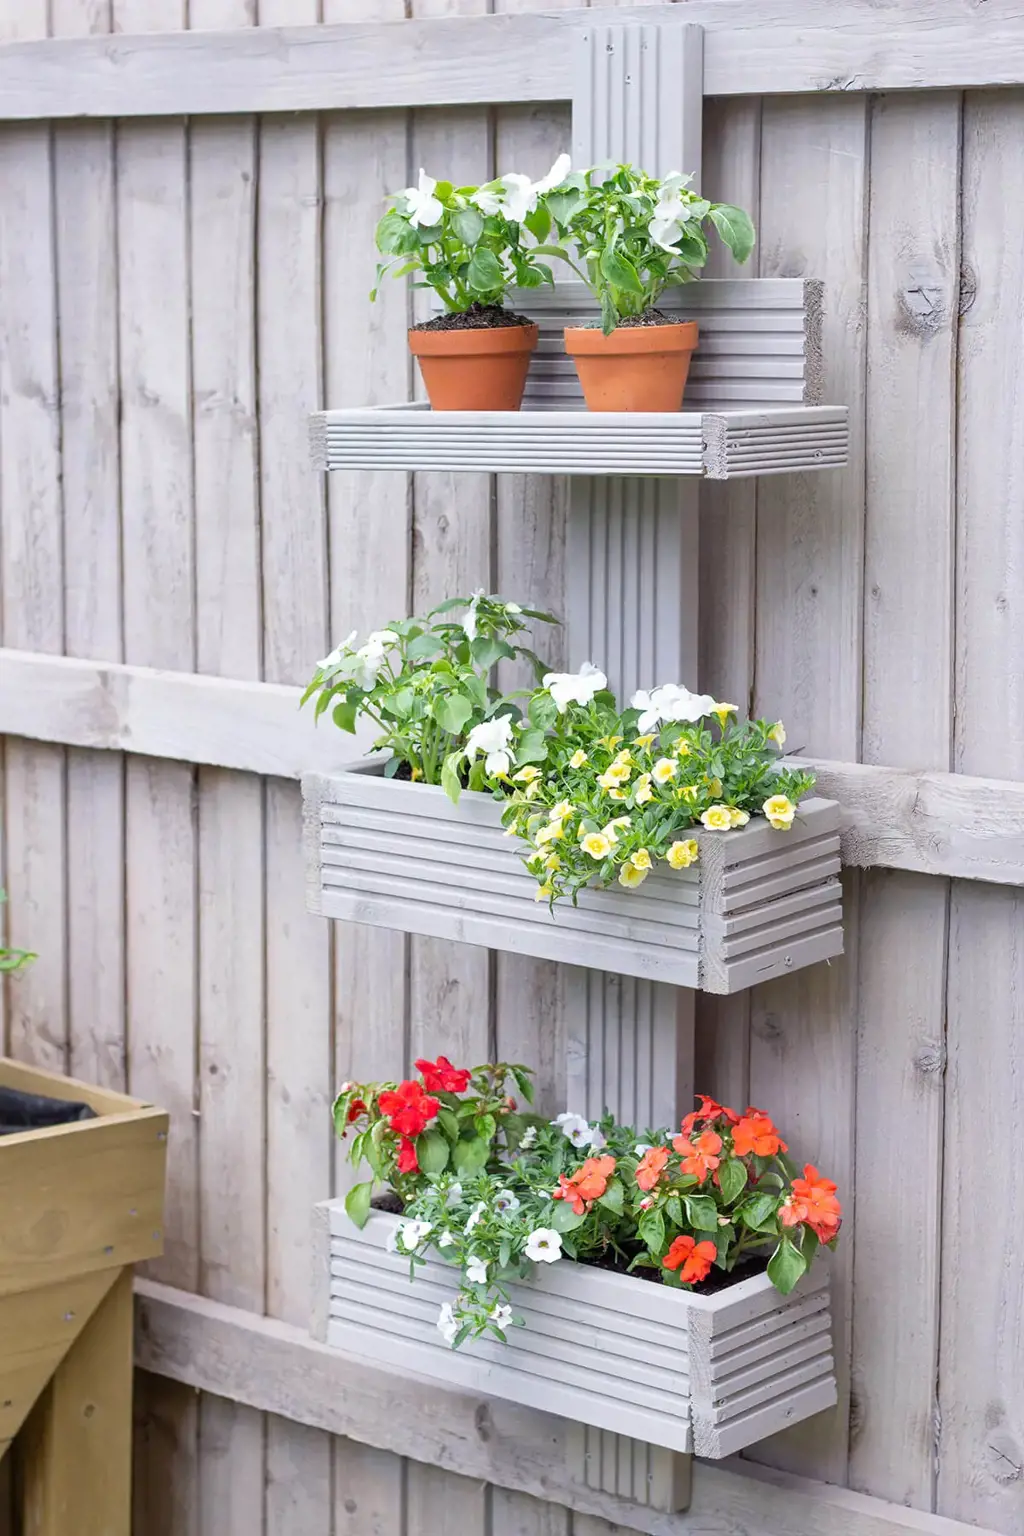
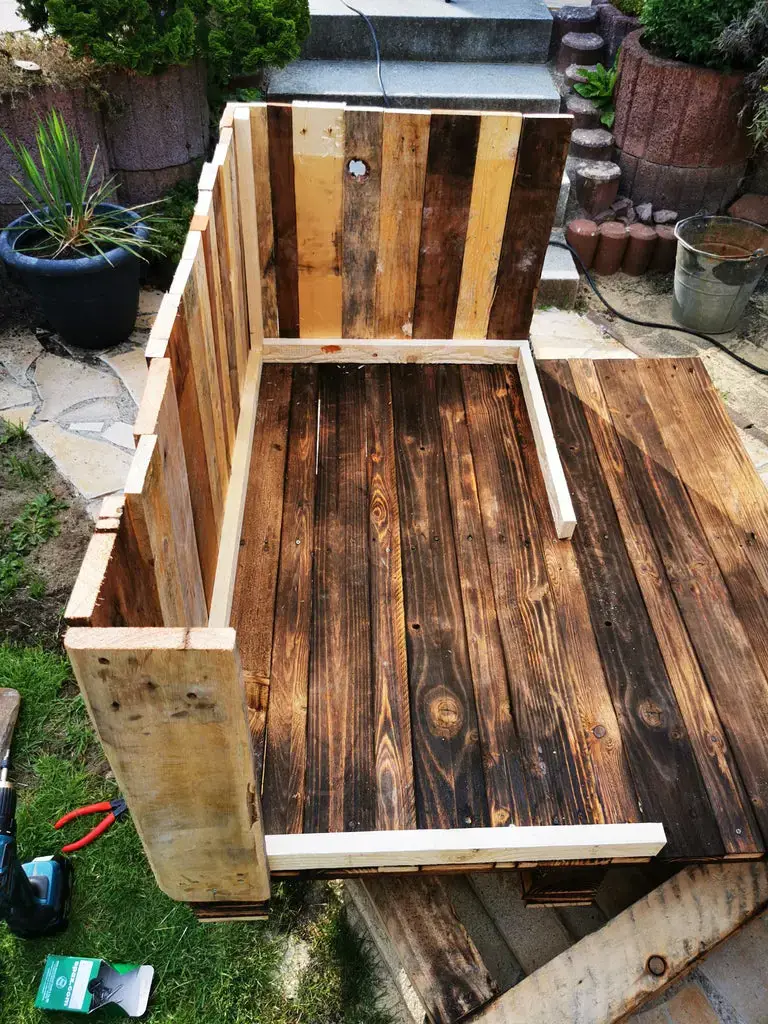
Build a stylish planter box
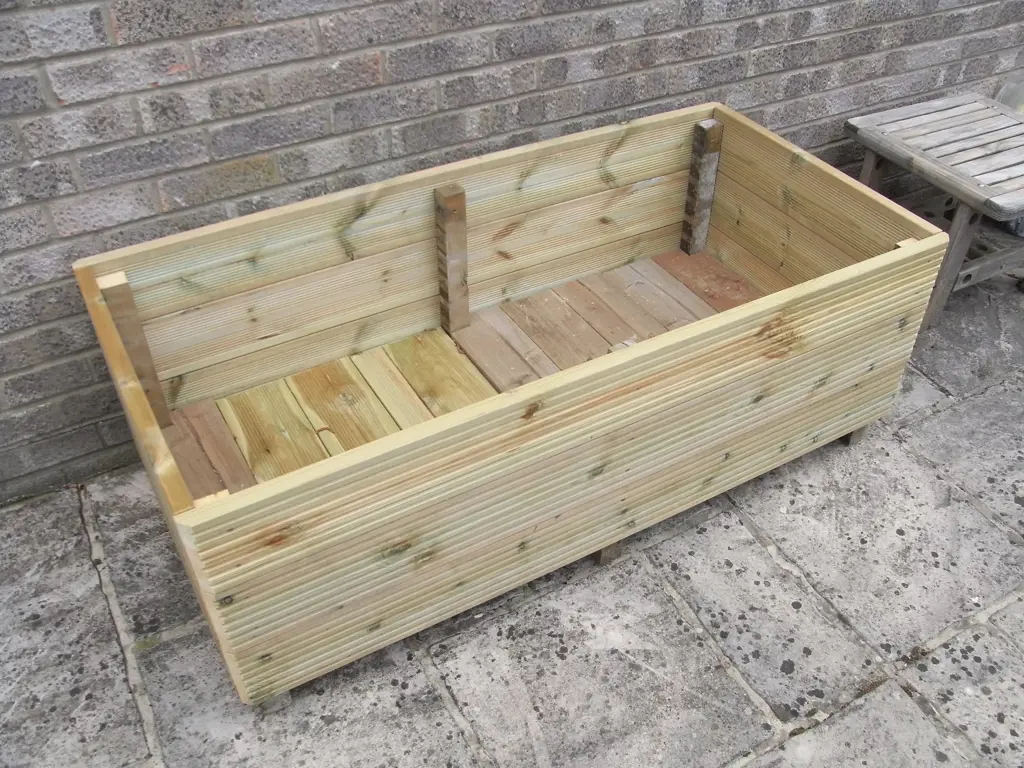
If you recently installed a deck and have leftover decking offcuts, don't throw them away just yet. You can make a stylish planter box that will add charm and greenery to your outdoor space. Here's how to do it.
Step 1: Cut the Decking Offcuts to Size
Start by measuring and cutting your decking offcuts to the desired size of your planter box. Ideally, you should make a rectangular or square planter box with a depth of about 12 inches. Cut two pieces of decking to the same length for the front and back of the box and two pieces to the same width for the sides.
Step 2: Assemble the Box
Once you have cut the pieces of decking to the right size, it's time to put them together. Use screws or nails to assemble the four pieces of decking into a simple box shape. Make sure the corners are flush and secure.
Step 3: Add Legs
To lift your planter box off the ground and allow proper drainage, add legs to each corner. You can use leftover decking offcuts or any other scrap wood for this. Cut four pieces of wood to your desired length, then place one leg at each corner and screw or nail them in place.
Step 4: Line the Planter Box
Before adding soil and plants, it's important to line your planter box to prevent water from draining out of the bottom. You can use landscaping fabric, burlap, or even old shower curtains for this purpose. Cut a piece of lining to fit the inside of the planter box and staple or tack it in place.
Step 5: Fill with Soil and Plants
With the lining in place, it's time to fill your planter box with soil and add your favorite plants. Choose plants that suit the amount of sunlight and exposure your outdoor space gets. You may want to mix in some compost or plant food to give your plants a boost.
Step 6: Enjoy Your New Planter Box
Once you've filled your planter box with soil and plants, it's ready to use. Place it on your deck, patio, or backyard and enjoy the beauty of your new addition.
In conclusion, building a planter box from decking offcuts is a great way to repurpose leftover materials and add some charm and greenery to your outdoor space. With a few basic woodworking skills and some creativity, you can create a stylish and functional planter box that will last for years to come.
14 Fun Things to Do in Bedford, NH
You may want to see also
![]()
Design a custom pergola
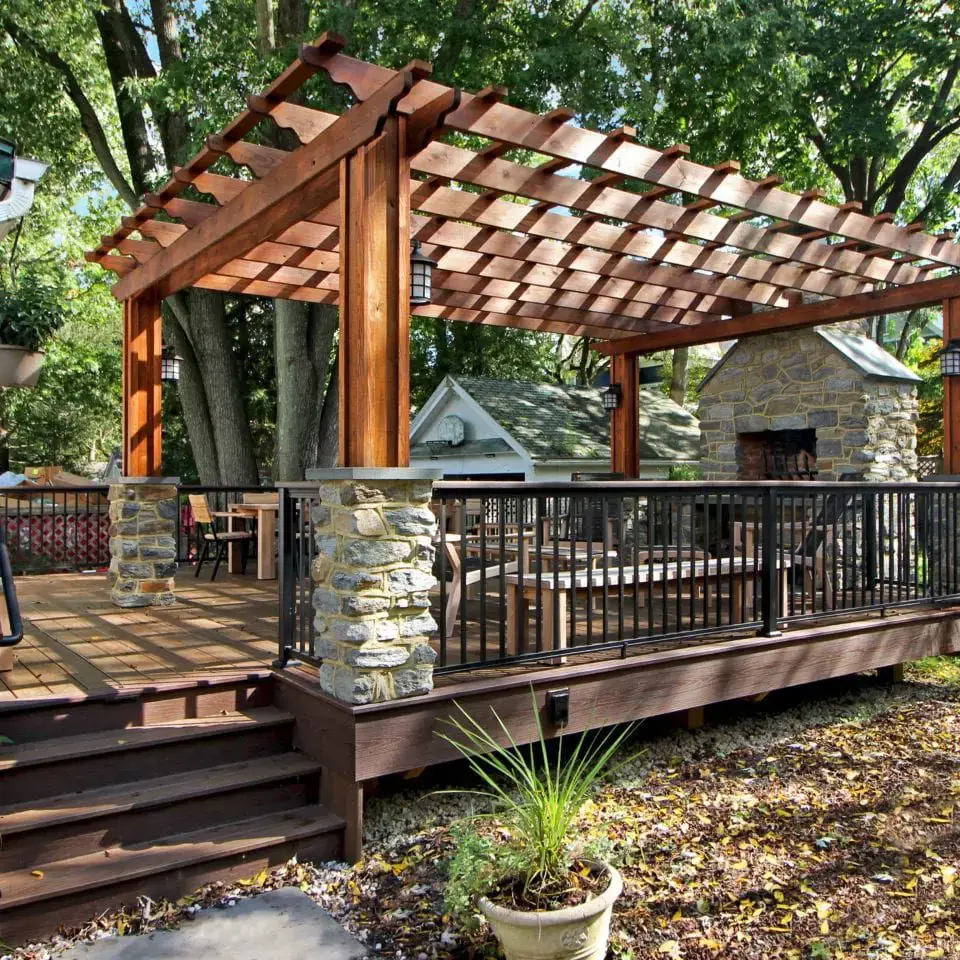
Decks have become an essential aspect of modern homes. They provide an outdoor space where we can relax and unwind, entertain guests, and even hold family gatherings. However, decking offcuts can pile up when installing or renovating our patios, which can become problematic since we neither want to dispose of them nor let them collect dust. This article will provide an insightful and creative approach to repurpose your decking offcuts by designing a custom pergola.
A pergola is an elevated outdoor structure designed to provide a shaded spot and add aesthetic to your patio. It typically consists of vertical beams, horizontal crossbeams, and an open roof grid. This design is ideal since it utilizes both the larger pieces of decking boards and the offcuts to achieve the desired outcome.
The first step in designing your pergola is to determine the pergola's size, design, and location, depending on your intentions. It is essential to consider the elements, such as wind speed and proximity to the house, when picking the pergola's location. You can use design software or draw out the plan for a more visual perspective.
After deciding on the pergola's preferred location, you can then start assembling the vertical posts that are secured with stakes into the ground. You may use concretes to ensure firmly established footing. Next, cut the larger pieces of decking into horizontal crossbeams using the offcuts for support.
Ensure that you fasten them securely in place using appropriate screws or nails. A horizontal grid at the top of the pergola creates a stylish look that can be designed using both the larger pieces and offcuts of the deck boards. By getting creative, you can make the design match the overall aesthetic appearance of your house.
Finally, attach the rafters by joining the ends of the beams to the grid, adding final touches to the design. Don't forget to sand the edges and curves of the pergola so that it looks smooth and polished.
In conclusion, designing a pergola from your decking offcuts is an excellent way of repurposing the excess materials generated during the installation process. By taking the time to get creative and using your imagination, you can make a personalized pergola that suits your needs, budget, and style. The final product will create an elegant addition to your patio that will provide you with a shaded space to relax or entertain guests in the beautiful outdoors.
14 Fun and Exciting Things to Do in Cambridge, Ohio
You may want to see also
![]()
Craft a decorative wall hanging
One of the best things about having a deck is that it creates a relaxing outdoor living space for you and your family. However, with every deck construction project, there are always offcuts that will be left behind. Rather than throwing them away, why not create a beautiful decorative wall hanging that you can use to add character to your home? Here are some tips on how to do it:
Step 1: Gather Materials
To start with, you will need to gather the following materials:
- Decking offcuts
- Measuring tape
- Hand saw
- Sandpaper or power sander
- Wood glue
- Twine or string
- Drill and screws
Step 2: Cut the Offcuts
Use a measuring tape to determine the length and width of your wall hanging. Once you have the required measurements, use a hand saw to cut the decking offcuts into the desired lengths. You can choose to cut the wood at an angle to add an interesting twist to your wall hanging.
Step 3: Sand the Wood
Once you have cut your pieces of wood, it is important to sand them down using sandpaper or a power sander. Sanding the wood will smoothen out any rough edges and remove any splinters that may be present.
Step 4: Arrange the Pieces
Now it is time to arrange the pieces of wood to create the design you want. Arrange them in a way that makes them pleasing to the eye. You can choose to place them linearly or diagonally, depending on the design you want.
Step 5: Glue the Pieces
Once you have arranged the pieces to create your desired design, it is time to glue them together. Apply wood glue to the backs of the pieces of wood and press them together firmly. Make sure the glue is fully dry before moving on to the next step.
Step 6: Attach the Twine
To add an aesthetic touch to your wall hanging, you can choose to attach twine or string to it. Drill a hole at the top of the hanging and thread a piece of twine or string through the hole. Knot the ends of the twine and hang it on the wall!
Creating a decorative wall hanging from decking offcuts is an affordable way to beautify your home while also showing off a little bit of creativity. By following these steps, you can make a stylish and unique wall hanging, and you won't have to spend a lot of money to do so. So next time you have leftover decking offcuts, don't throw them out; turn them into something beautiful for your wall!
11 Things to Do in Ozark Alabama: Exploring the Outdoors and Local Culture
You may want to see also
![]()
Construct an outdoor table and chairs
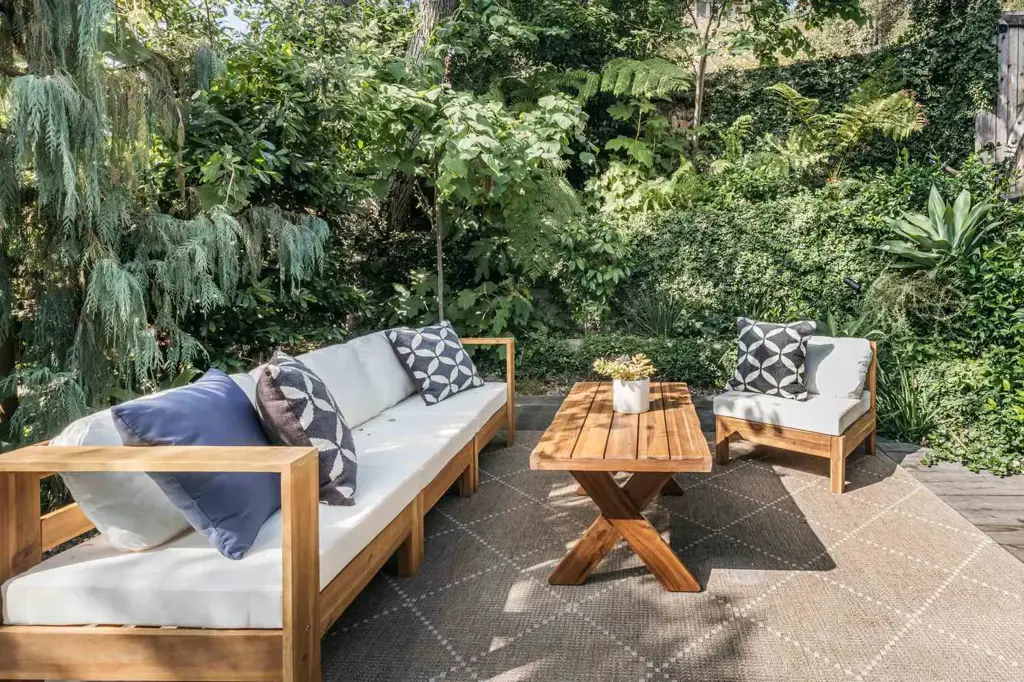
Decks are a great way to add curb appeal to your house and increase your outdoor living space. However, when you're cutting and installing your decking, you're bound to end up with a few offcuts. Luckily, there are a lot of things you can do with your decking offcuts, and one of them is constructing an outdoor table and chairs.
To start, gather all of your decking offcuts and sort them by size. You'll want to use the larger pieces for the table and the smaller pieces for the chairs. Then, decide on the size of your table and chairs and draw up a rough design.
Next, cut your larger decking offcuts to the size of your table top and legs. Sand the edges to make sure they're smooth and fit together properly. Once your pieces are cut to size, use screws and wood glue to assemble the legs and tabletop.
For the chairs, cut your smaller decking offcuts to the size of the seat and backrest. Again, sand the edges to make sure they're smooth and fit together properly. Once your pieces are cut to size, use screws and wood glue to assemble the seat and backrest. Finally, attach the legs to the seat to finish off the chair.
Once you've completed your table and chairs, it's time to give them a finish. Sand all surfaces smooth, then stain or paint your furniture to your liking. Make sure you use a good quality outdoor finish that will protect your furniture against the elements and prevent the wood from splintering.
With a little bit of creativity and a few simple tools, you can easily transform your decking offcuts into a beautiful and functional outdoor table and chairs. This not only saves you money, but it also gives you a great sense of pride and satisfaction. Plus, you'll be able to enjoy your brand-new furniture while soaking up the sun and sipping on some cold lemonade.
14 Fun Things to Do in Orange Park, Florida
You may want to see also
![]()
Make a unique birdhouse
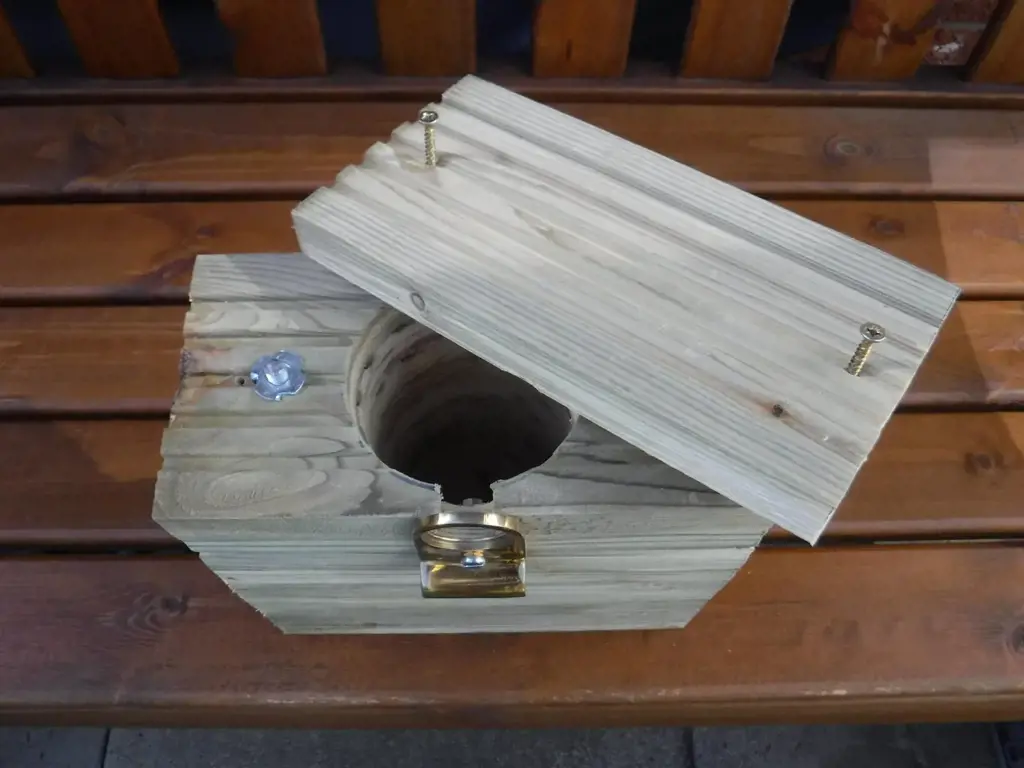
If you've recently built a deck and have plenty of decking offcuts lying around, it's time to put them to good use! One unique project you can make with the leftover wood is a birdhouse. Not only will you be helping to attract birds to your garden, but you'll also create a unique and charming piece of garden decor.
Here's a step-by-step guide on how to make your own birdhouse from decking offcuts:
Materials:
- Decking offcuts (at least three pieces)
- Screws or nails
- Drill/driver
- Saw
- Sandpaper
- Birdhouse kit (optional)
Instructions:
- Cut the wood into pieces. You'll need two pieces for the roof and two pieces for the sides. The size of the pieces will depend on the size of the birdhouse you want to create. A good rule of thumb is to make the roof pieces larger than the sides.
- Sand the edges of each piece down to a smooth finish. This will prevent any sharp edges that could harm the birds.
- Using screws or nails, attach the two side pieces together to form the walls of the birdhouse. Make sure to leave an opening big enough for a bird to enter and exit.
- Attach the two roof pieces on top of the walls using screws or nails.
- If you want to add a perch to the birdhouse, cut a small length of wood and attach it to the front of the birdhouse.
- Place the birdhouse in a suitable location in your garden. Ideally, it should be in a sheltered spot and out of reach of any predators.
If you don't want to create your own birdhouse from scratch, you could also purchase a birdhouse kit and use the offcuts to decorate it. There are plenty of designs and styles available, so you're sure to find one that complements your garden decor.
Overall, making a birdhouse from decking offcuts is a fun and rewarding project that's suitable for all skill levels. Not only will you be helping to attract birds to your garden, but you'll also have created a unique and charming piece of garden decor that you can enjoy for years to come.
13 Fun and Interesting Things to Do in Tigard, Oregon
You may want to see also
![]()
Create a cozy fire pit area
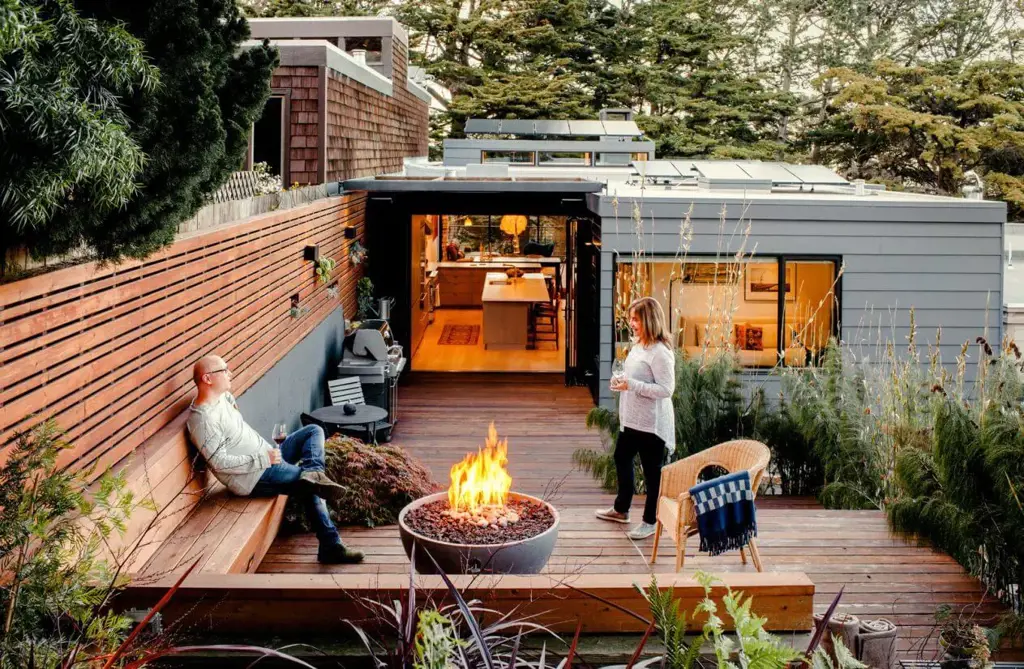
Decking offcuts are often overlooked as waste material, but there's no need to throw them away! There are plenty of creative and useful things you can do with them, such as creating a cozy fire pit area in your backyard. A fire pit area is a great way to add some warmth and ambiance to your garden or outdoor space, and it's surprisingly easy to make with some decking offcuts!
Step 1: Choose the Location
The first step in creating a fire pit area is choosing the location. You want to select an area that is safe and away from any overhanging trees or bushes. A flat and level area is ideal as it will be more stable and safer to use. Once you have chosen the location, mark it out with some string or a marker so that you can work out the size and shape of your fire pit.
Step 2: Prepare the Area
After you have determined the location, you need to prepare the area for your fire pit. Start by removing any grass or vegetation in the marked-out area. It's also a good idea to dig out some of the soil to create a shallow pit where you will put the fire. This will help to contain the flames and prevent them from spreading.
Step 3: Lay the Decking Offcuts
Now it's time to use your decking offcuts to create the edge of your fire pit. Simply lay the decking offcuts around the perimeter of the marked-out area, making sure they are flush with the ground. You can use screws or wood glue to secure the decking offcuts in place, but it's not essential.
Step 4: Add Gravel or Stone
Once the decking offcuts are in place, you can add a layer of gravel or small stones to the bottom of the pit. This will help to absorb excess moisture and prevent the wood from rotting. It will also give the fire pit a nice finished look. You can even add large flat stones to the top of the decking offcuts to create a flat surface for sitting on.
Step 5: Light Your Fire
Now you're ready to light your fire! Make sure you use dry wood that has been cut to the appropriate size. Don't pile the wood too high, and never leave the fire unattended. It's also a good idea to have a bucket of water or a fire extinguisher nearby, just in case.
In conclusion, creating a cozy fire pit area in your backyard is a great way to make use of your decking offcuts. It's a fun and easy DIY project that can be done in an afternoon. With a little creativity, you can turn your unused decking offcuts into something beautiful and useful. So go ahead and get started now!
12 Fun Things to Do in Margate NJ
You may want to see also
![]()
Build a trellis for climbing plants
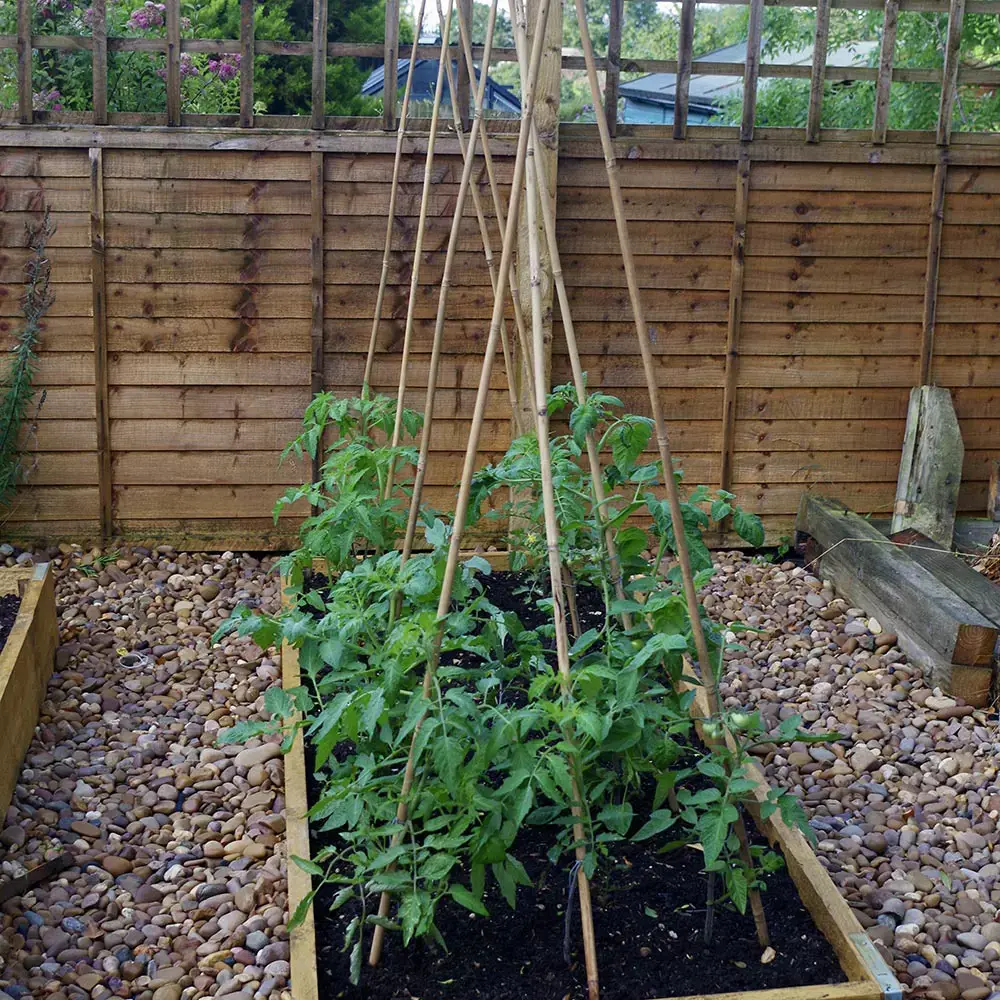
Decking offcuts are a great way to repurpose leftover materials from your decking project. There are plenty of ways to use decking offcuts, and one of the best ideas is to build a trellis for climbing plants. Here's how you can create a trellis with decking offcuts.
Materials You'll Need:
- Decking offcuts
- Screws
- Drill
- Saw
- Tape measure
Steps to Build a Trellis for Climbing Plants:
Measure the Height and Width of Your Trellis
Using a tape measure, determine the height and width that you want your trellis to be. You can choose any size you like, depending on your preference and the size of your garden space.
Cut the Decking Offcuts
Using a saw, cut the decking offcuts to fit the dimensions of your trellis. You'll need four pieces for the corners of the trellis, and several more pieces to connect them. Make sure to sand the edges smooth after you've cut them.
Assemble the Trellis
Using screws, connect the four corner pieces together to form a frame. You can use any type of screws you like, but we recommend using stainless steel screws to prevent rusting.
Attach the Rest of the Pieces
Using screws, attach the remaining decking offcuts to the frame. Start at the bottom and work your way up, spacing the pieces out evenly to create a ladder-like effect. You can also add diagonal pieces for extra support.
Place the Trellis in Your Garden
Once you've finished building your trellis, you can place it wherever you like in your garden. Make sure to position it in a spot where your climbing plants will get enough sunlight and support.
Train Your Climbing Plants
The final step is to start training your climbing plants to grow up the trellis. You can do this by gently guiding the plant's stem and attaching it to the trellis using twist ties or string. Over time, your plant will grow and cover the trellis, creating a beautiful focal point in your garden.
In conclusion, building a trellis with decking offcuts is a great way to repurpose leftover materials from your decking project. It's also an easy DIY project that can add a beautiful touch to your garden. So, gather your materials and get started on building your own trellis for climbing plants!
13 Fun Things to Do in Ashland, Wisconsin
You may want to see also
![]()
Fashion a sleek privacy fence
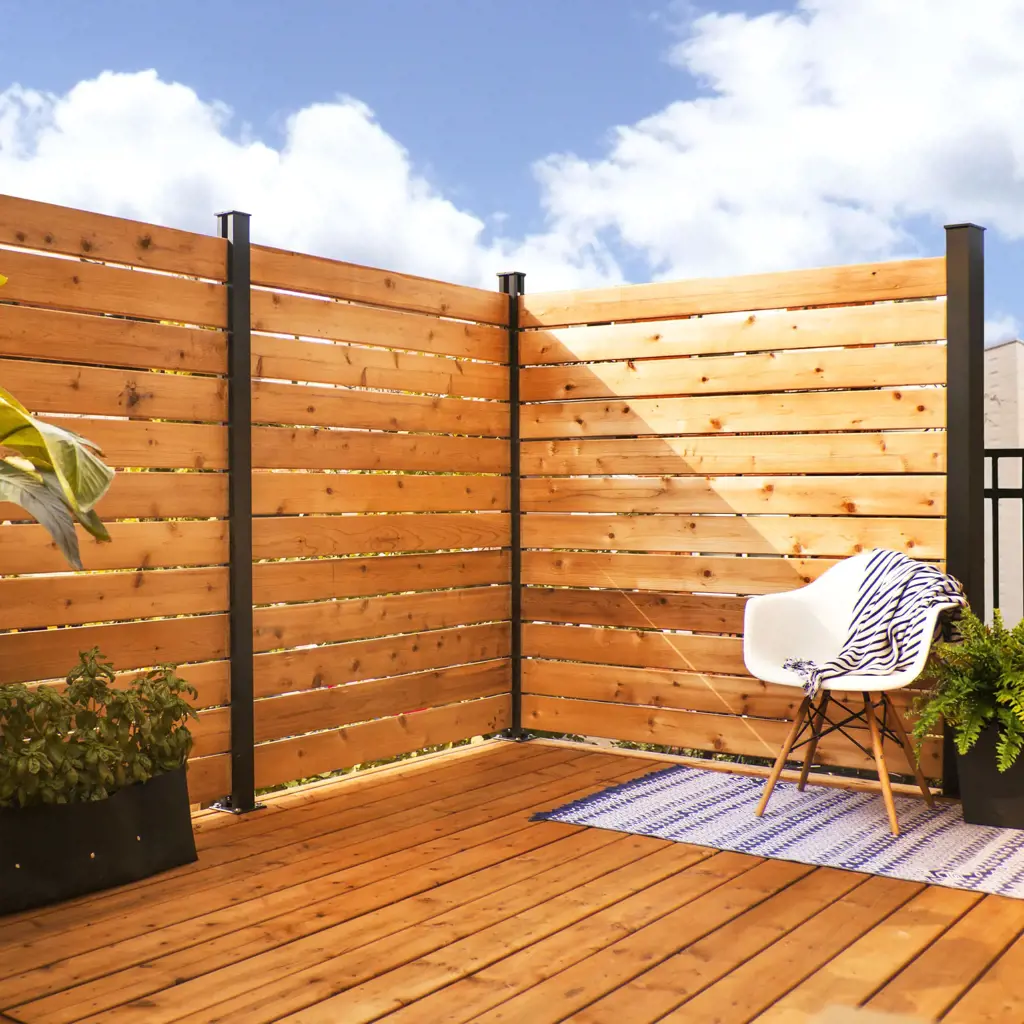
Decks are an excellent addition to any home, but with any home renovation project comes leftover materials. If you have decking offcuts, you may be wondering what to do with them. One creative way to use these offcuts is to turn them into a sleek privacy fence. In this article, we will give you some tips on how to make a privacy fence using decking offcuts.
Step 1: Gather Materials and Tools
The first step is to gather all the materials and tools you need. Apart from decking offcuts, you'll need fence posts, latches, hinges, screws, and of course, tools like a saw, drill, and measuring tape.
Step 2: Measure and Cut the Offcuts
Measure the length of your fence and then cut the decking offcuts and fence posts to your desired size. When cutting, ensure the pieces are straight and have clean edges. The uniformity of the cuts is important to ensure the pieces fit together properly.
Step 3: Assemble the Frame
Once you have all the pieces cut, it's time to start building the frame. To do this, start by installing the fence posts where you want the fence to be. Use a level to ensure that they are straight. Next, nail the cut decking pieces onto the posts, making sure they overlap each other slightly. Keep adding more pieces until you have covered the desired length.
Step 4: Add a Gate
Now it's time to add a gate. Cut the remaining decking offcuts and fence posts to the desired size for the gate. Next, attach the gate to the fence using hinges and install a latch to keep it closed.
Step 5: Stain or Paint the Fence
The last step is to stain or paint the fence. Since privacy fences are exposed to the elements, it is best to use high-quality stain or paint to ensure it lasts long. Choose a color that complements your home's exterior.
In conclusion, don't let your decking offcuts go to waste. Use them to create a stunning privacy fence that will add value to your home. A sleek privacy fence is not only functional but also adds aesthetic appeal to your home. Follow the steps outlined above, and you'll have a beautiful fence in no time.
13 Fun Things to Do in Bremerton, Washington
You may want to see also
![]()
Craft a rustic outdoor bar
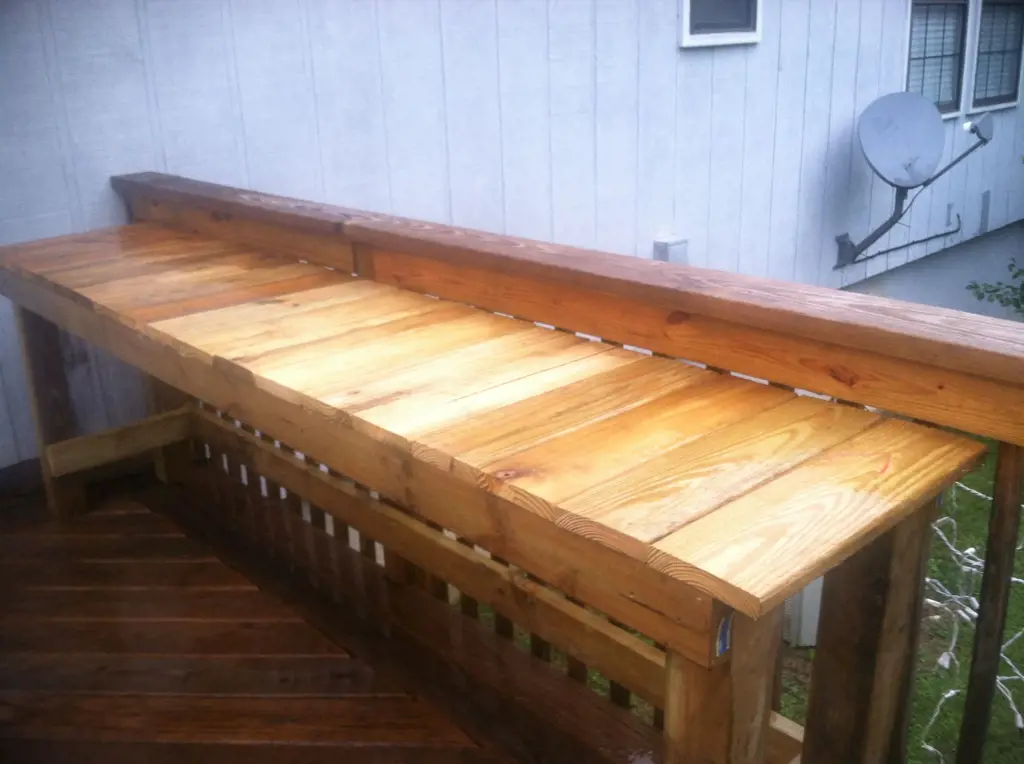
If you’ve recently completed a decking project and have some leftover offcuts, don’t throw them away just yet. Why not put those offcuts to good use and create a stunning rustic outdoor bar? With careful planning and a few simple tools, you can easily transform your decking offcuts into a unique and functional outdoor bar.
Here’s what you’ll need to get started:
Materials:
- Decking offcuts
- Wooden planks or pallets
- Screws
- Sandpaper
- Wood stain or paint
- Bar top material (such as granite or marble)
- Tools (drill, saw, measuring tape, level, and pencil)
- Protective gear (safety glasses and gloves)
Step 1: Measure and Cut
Begin by measuring the space where you want to place your bar. Then, use a saw to cut the decking offcuts into the desired lengths to match your measurement. Cut four pieces for the legs, four pieces for the horizontal supports, and additional offcuts to create the front and back panels of the bar.
Step 2: Assemble the Base
Using screws and a drill, attach the horizontal supports to the legs to create the frame for the base of the bar. Once assembled, use sandpaper to smooth out any rough edges.
Step 3: Create Front and Back Panels
Using additional offcuts, create the front and back panels of the bar by cutting your offcuts into equal lengths and then attaching them vertically to the base. Remember to measure and level the panels before screwing them into place.
Step 4: Add the Bar Top
Attach the bar top material of your choice, such as granite or marble, to the top of the bar using screws. This will give your outdoor bar a sleek and stylish look.
Step 5: Finishing Touches
Finish off your bar by staining or painting the wood to protect it from weather conditions. You can also add a bar footrest or shelves for storing glasses and drinks.
With a little creativity and some DIY skills, you can turn your decking offcuts into a stunning rustic outdoor bar. Your guests will love the unique and eco-friendly design, and you’ll enjoy lounging outside while sipping your favorite drinks.
13 Fun Things to Do in Kenai, Alaska
You may want to see also
![]()
Design a playful swing set
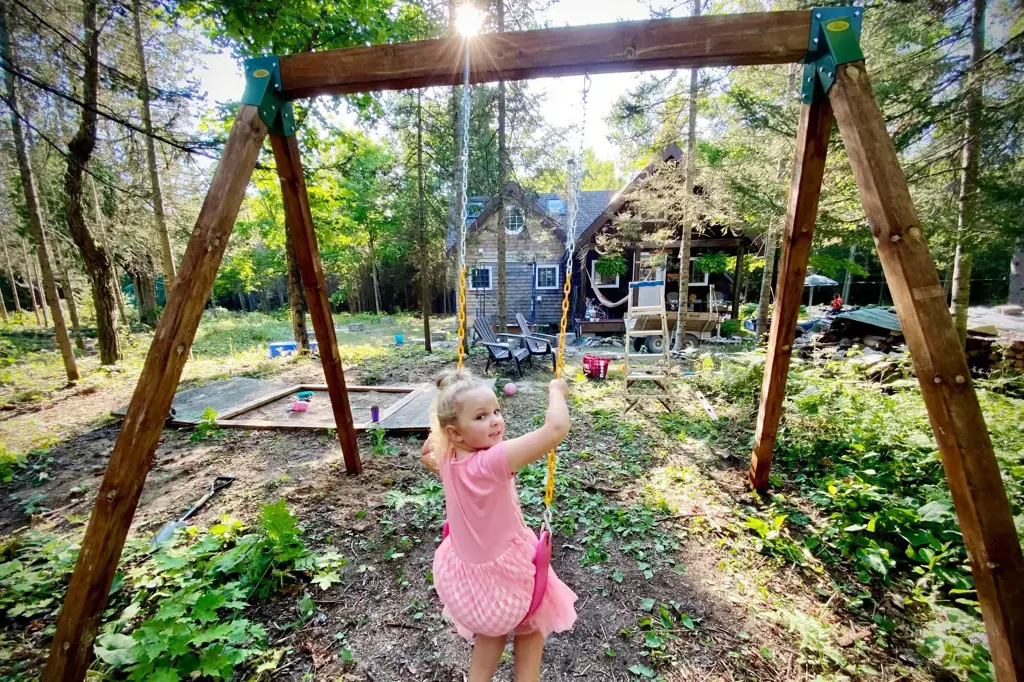
Are you looking for a creative way to use up your decking offcuts instead of throwing them away? Look no further than designing a playful swing set for your backyard! A swing set is a great addition to a yard, providing endless hours of entertainment for kids and adults alike. Here's how to get started on designing your own swing set using your decking offcuts.
Gather Your Materials
Before you start designing, make sure to gather all the necessary materials. You'll need a few different types of wood, some sturdy ropes or chains, and some hardware to secure everything together. Take stock of the amount of decking offcuts you have available and calculate how much additional wood you'll need to complete the project.
Sketch Your Design
Next, start sketching out your swing set designs. Here are a few things to consider as you're planning:
- How many swings do you want? Will you have one main swing, or multiple swings for different ages?
- What size should the swing set be? Make sure to measure the space where you plan to put the swing set to ensure it will fit.
- Do you want additional features, like a climbing wall or slide, attached to the swing set?
Use your offcuts to create unique shapes for the swings or other features on the swing set. Combining different sizes and shapes can add visual interest to the design. Make sure to sketch the design from different angles so you can adjust it as needed.
Cut and Sand
Once you have your design sketched, start cutting the wood down to the appropriate sizes. Make sure to sand the edges and corners to prevent any splinters or rough edges. Use a drill to create holes where any hardware or ropes will be attached.
Assemble and Secure
Once all the pieces have been cut and sanded, it's time to start putting everything together. Assemble the main swing frame first, securing all pieces together with hardware. Next, attach the ropes or chains to each swing, making sure they are securely fastened to the frame.
Test and Play
Once everything is assembled, do a test run to make sure the swing set is secure and stable. Have a few test swings to ensure everything is working properly. Make any adjustments as needed before letting the kids loose to play.
With a little bit of creativity and some basic woodworking skills, you can turn your decking offcuts into a fun and playful swing set. What are you waiting for? Start designing your dream swing set today!
11 Fascinating Activities to Explore in West Orange NJ
You may want to see also
![]()
Build a sturdy playhouse for kids
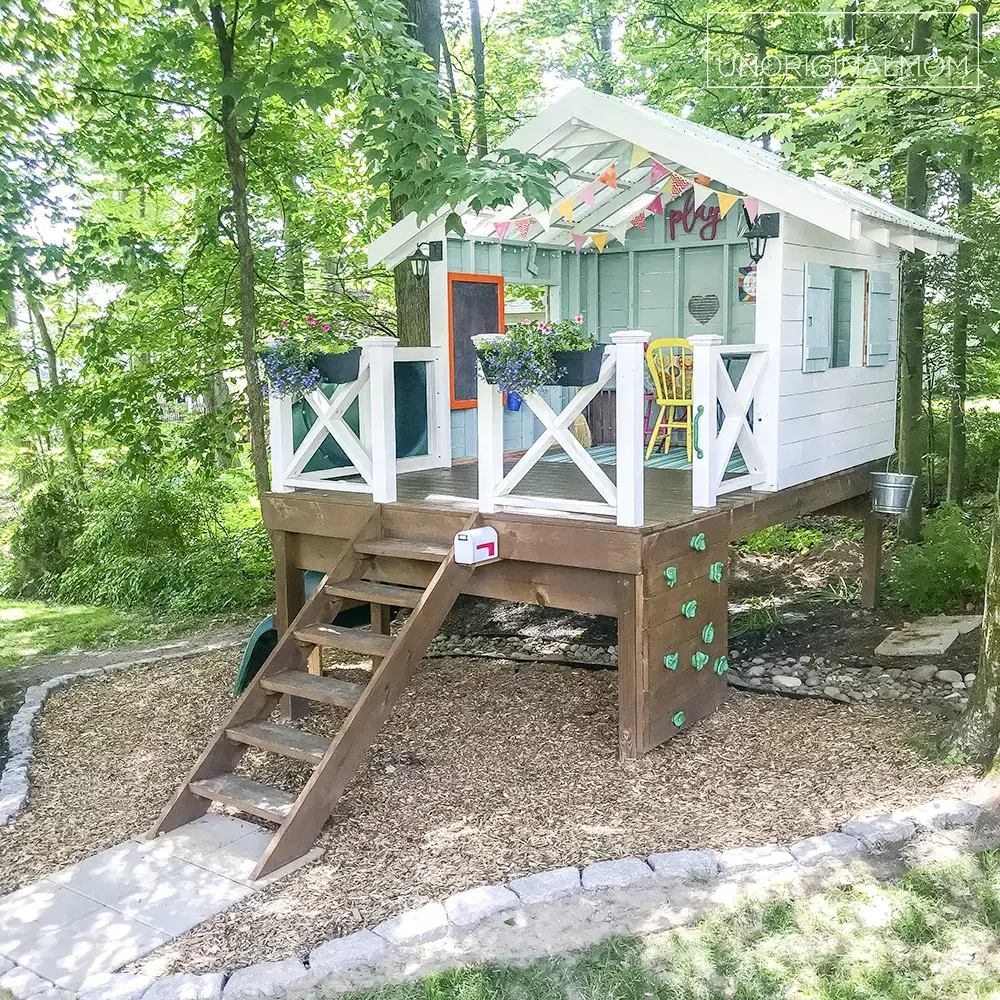
If you have some decking offcuts lying around, don't throw them away just yet! With a bit of creativity and some DIY skills, you can turn those scraps of wood into a sturdy playhouse that your kids will love.
Here's how to build a playhouse using decking offcuts:
Step 1: Plan your design
You can create a simple playhouse with just four walls and a roof, or a more elaborate structure with multiple levels, a slide, and even a swing. Sketch out your design on paper and determine the dimensions of the playhouse based on the available space and the size of your decking offcuts.
Step 2: Gather your materials
Besides the decking offcuts, you'll need some screws, nails, a saw, a drill, and some basic carpentry tools. You may also want to add paint or sealant to protect the wood from the elements.
Step 3: Build the walls and roof
Cut the decking offcuts to the desired length for the walls and roof, then assemble them using screws and nails. It's important to make sure the walls are square and level, and that the roof has a slight pitch to allow rainwater to run off.
Step 4: Add windows and a door
Using a saw or drill, cut out openings for windows and a door in the walls. If you have some plexiglass or clear plastic, you can insert it into the window openings to create a real, functioning window.
Step 5: Paint or seal the playhouse
To protect the wood from the weather, give the playhouse a coat of paint or sealant. You can choose a color that complements your home's exterior or let your kids pick their favorite color.
Step 6: Add finishing touches
To make the playhouse even more fun, add some finishing touches like a chalkboard or small shelves inside. You could also add a little porch with a railing, a climbing wall, or a slide.
With some decking offcuts, basic tools, and a little bit of creativity, you can create a fun and sturdy playhouse that your kids will love. Not only will it provide hours of entertainment, but it will also give them a sense of ownership and pride in something they helped build.
14 Fun Things to Do in Brandon, MS
You may want to see also
![]()
Create a custom dog house
If you have some leftover decking wood lying around, instead of throwing it away, why not create a custom dog house for your furry friend? With a little creativity and some woodworking skills, you can easily turn your decking offcuts into a beautiful dog house that your furry pal will love. Here are some tips on how to get started on the project:
Measure and plan
Before you get started, take some time to measure and plan out the dimensions of your dog house. This will ensure that you have enough wood for the project and that your furry friend will have enough space to comfortably nap and play inside. You may want to use a pre-existing planter, barrel, or other object to build your decking wood dog house around.
Cut the wood
Using a circular saw or handsaw, cut your decking wood offcuts to the desired length and width for each section of the dog house. Depending on the size of the dog house, you may need to cut several pieces of wood to create the frame.
Assemble the frame
Using screws or nails, assemble the frame of the dog house by securing the pieces of wood together. Make sure that the corners are square, and the frame is level.
Lay the floor
Using additional decking wood offcuts, lay a solid floor for your dog house that is level and securely fastened to the frame. You may want to seal the wood with a varnish or paint to help protect it from moisture.
Add the walls
Attach additional decking wood pieces to create walls around the frame of your dog house. Make sure to leave space for a door or entrance for your furry friend to easily access the inside.
Install the roof
Install a sloping roof on top of the dog house, using additional decking wood to make a waterproof surface. This will keep your dog dry in rainy weather.
Personalize and add finishing touches
Once your dog house is assembled, you can personalize it with paint or designs to give it a unique look. You can also add some finishing touches such as a nameplate or a welcome mat to make it truly special.
Creating a custom dog house from decking wood offcuts will not only save you money but will also provide your furry friend with a cozy shelter that they will love. So, roll up your sleeves, dust off your woodworking skills and get started on this exciting project today!
11 Fun Things to Do in Willcox, AZ
You may want to see also
Frequently asked questions
There are a number of creative ways to use decking offcuts, including creating unique planters and flower boxes, building birdhouses, or even crafting furniture like benches or tables.
Depending on the size and materials of your decking offcuts, you may be able to recycle them through your local waste management service. Another option is to repurpose the wood for DIY projects or donate it to a woodworking or crafting organization.
It is not recommended to burn treated wood, as it can release harmful chemicals into the air. Unfinished, untreated decking offcuts can potentially be used as firewood, but it is best to consult with a professional before doing so.
Yes, decking offcuts can make great decor pieces for your outdoor space. You can use them to create personalized signs, decorative screens or privacy walls, or even as accents in your landscaping design. The possibilities are endless!


4 Comments
Maliha Curry
Leyton Whitehead
Steffi Montoya
AuthorGabrielle Owens