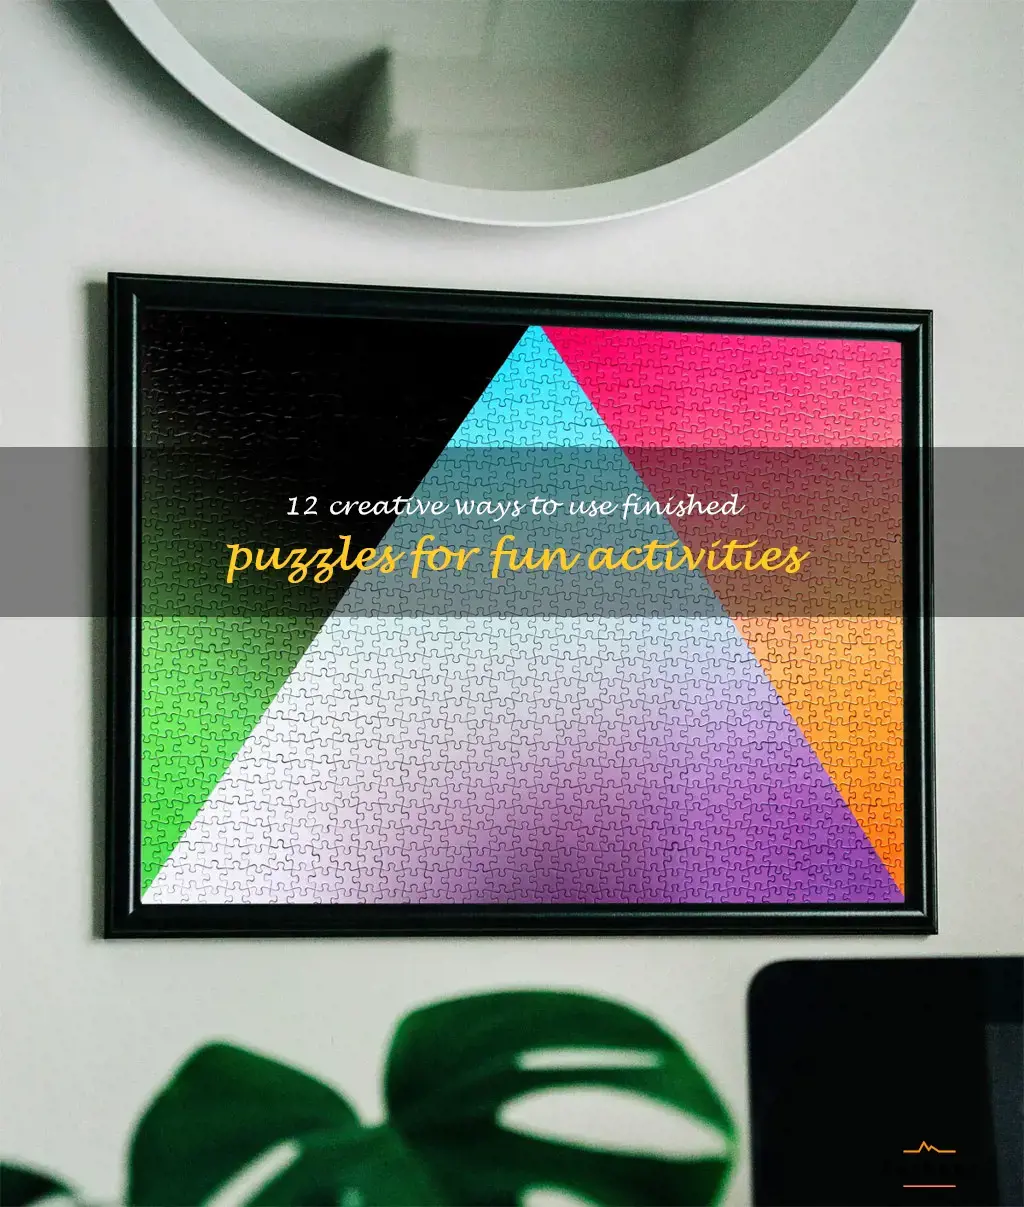
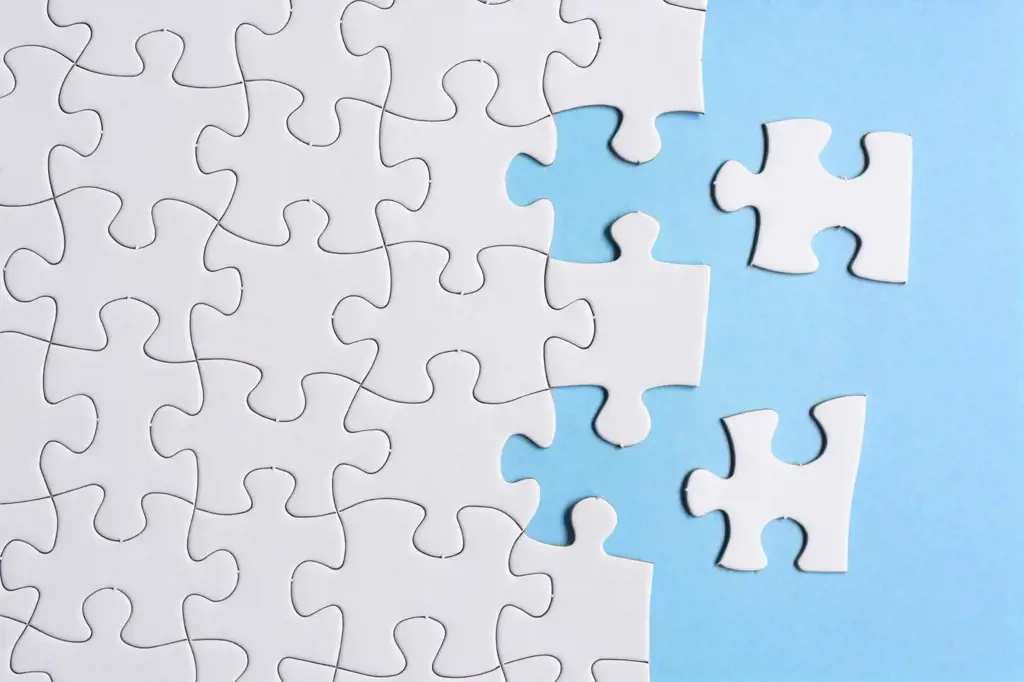
Puzzles are a fantastic way to pass the time, but what happens after you've finished one? Chances are you'll put it back in its box and leave it forgotten in a closet. But, did you know that you can transform your completed jigsaw puzzles into exciting new activities? From custom wall art to DIY projects and even helpful household items, we've compiled a list of 12 creative ways to use your finished puzzles so that the fun can continue long after you've put the last piece in place. So grab your glue, scissors, and imagination and let's get started!
What You'll Learn
- Create DIY wall art
- Donate to nursing homes or assisted living facilities
- Host a puzzle exchange or swap
- Use for a team building activity at work
- Glue onto a cardboard backing for a homemade placemat
- Make a DIY clock by adding clock hands to a completed puzzle
- Turn into a unique picture frame
- Use as a backdrop for photo shoots
- Make into a tray by attaching handles to the sides of the puzzle
- Cut into smaller pieces and use as gift tags
- Create a custom jigsaw puzzle by gluing the finished puzzle onto a blank puzzle template
- Use as a background for homemade greeting cards
![]()
Create DIY wall art
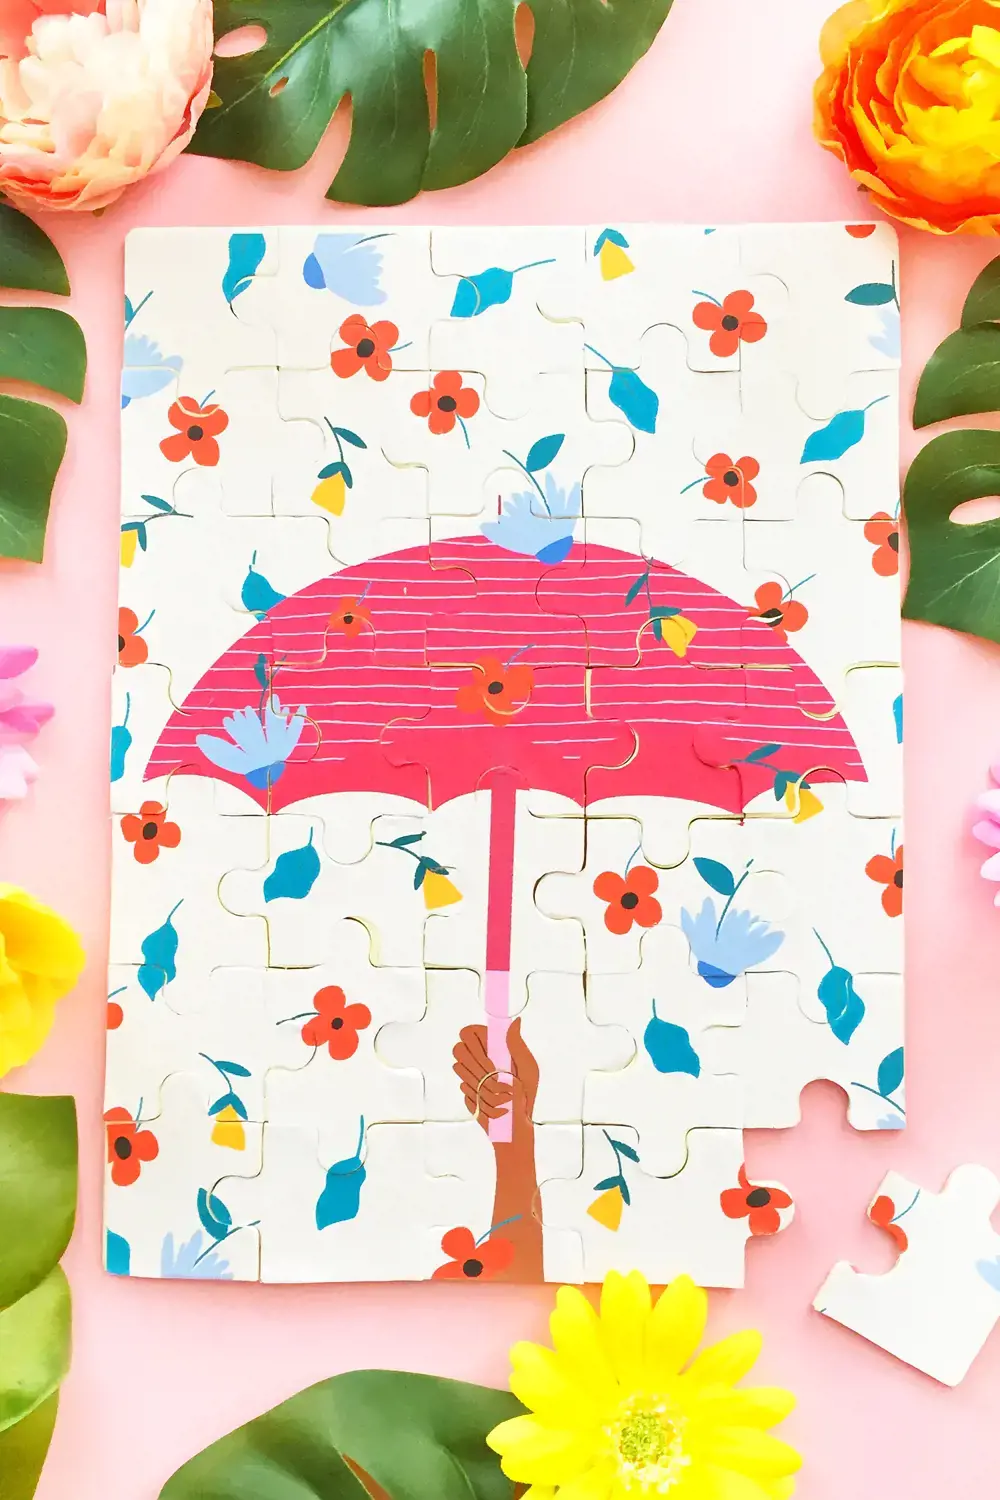
Completing a puzzle can be both an exciting and a fulfilling experience. After putting in hours of hard work, it is natural to want to display the finished product. Instead of simply framing your masterpiece or gluing it together, get creative and turn it into DIY wall art! Here are some fun and easy ideas to get you started.
- Framed Puzzle: Instead of just placing your completed puzzle in a frame, you can mount it on a board before framing it. This ensures that your puzzle stays intact and doesn't fall apart over time. You can also use different frames to enhance the aesthetic appeal of your puzzle.
- Puzzle Collage: If you have a lot of completed puzzles, consider creating a puzzle collage. This involves arranging and overlapping pieces from different puzzles to create a unique and colorful design. You can use a corkboard or a large canvas as your base and secure the pieces using glue or double-sided tape.
- Puzzle Wall Mural: Another creative option is to use puzzles to create a wall mural. Choose a large blank wall and use different puzzle pieces to create interesting patterns and designs. You can let your imagination run wild and create anything from abstract shapes to realistic scenery.
- Puzzle Calendar: Use a completed puzzle to create a unique desk calendar. Cut the puzzle into small pieces that correspond to each day of the year and use them to create mini calendars with quotes or pictures on each page. This will give you something to look forward to each day, and it's a great conversation starter!
- Puzzle Artwork: Finally, use the pieces from a completed puzzle to create artwork. You can arrange the pieces on a canvas to create an abstract design or use them to make a mosaic of your favorite picture. This is a great way to showcase your creativity and reuse puzzles that you might otherwise throw away.
In conclusion, there are plenty of fun and creative ways to display your completed puzzles. Whether you choose to frame them, create a collage, or use them to create mural art, the possibilities are endless. So, get started on your next puzzle project and turn it into DIY wall art that you can admire for many years to come!
13 Fun and Exciting Things to Do in Stockton This Weekend
You may want to see also
![]()
Donate to nursing homes or assisted living facilities
Puzzles are a great way to spend time and relax, but what do you do when you finally complete one? One thing you can do is to donate your finished puzzles to nursing homes or assisted living facilities. Here are some reasons why this is a great idea and some tips on how to go about it:
- Provides entertainment: Residents of nursing homes and assisted living facilities often have many hours to fill throughout the day, and puzzles are a great way to keep them entertained. They can help keep their minds engaged and active, which is important for their overall well-being.
- Increases socialization: Puzzle making can be a great way to spark conversation and socialization. By completing puzzles together, residents can work together and bond over a shared activity. This can help reduce feelings of loneliness and isolation.
- Promotes cognitive functioning: Puzzles are an excellent form of mental exercise that can help improve cognitive functioning and memory retention. They can also help in keeping the mind sharp, which is beneficial for older adults.
- Easy to donate: Donating puzzles to nursing homes and assisted living facilities is an easy process. You can either drop them off directly at the facility or organize a puzzle drive through your local community organizations. This is a great way to give back to your community and help others in need.
When donating puzzles, it is important to keep a few things in mind:
- Check for age-appropriate puzzles: Make sure to donate puzzles that are appropriate for the age and skill level of the residents. Large piece puzzles and simpler designs may be better suited for seniors with cognitive difficulties.
- Think about size: Consider donating puzzles that are smaller in size for easier storage and use in smaller community areas.
- Check with the facility: Before donating, check with the facility to make sure they accept puzzle donations and if there are any specific guidelines to follow.
In conclusion, donating finished puzzles to nursing homes and assisted living facilities is a great way to give back and help improve the lives of seniors. With the benefits of entertainment, socialization, cognitive functioning, and ease of donation, it is a simple and effective way to bring joy to others.
12 Fun Things to Do in Lancaster, Ohio
You may want to see also
![]()
Host a puzzle exchange or swap
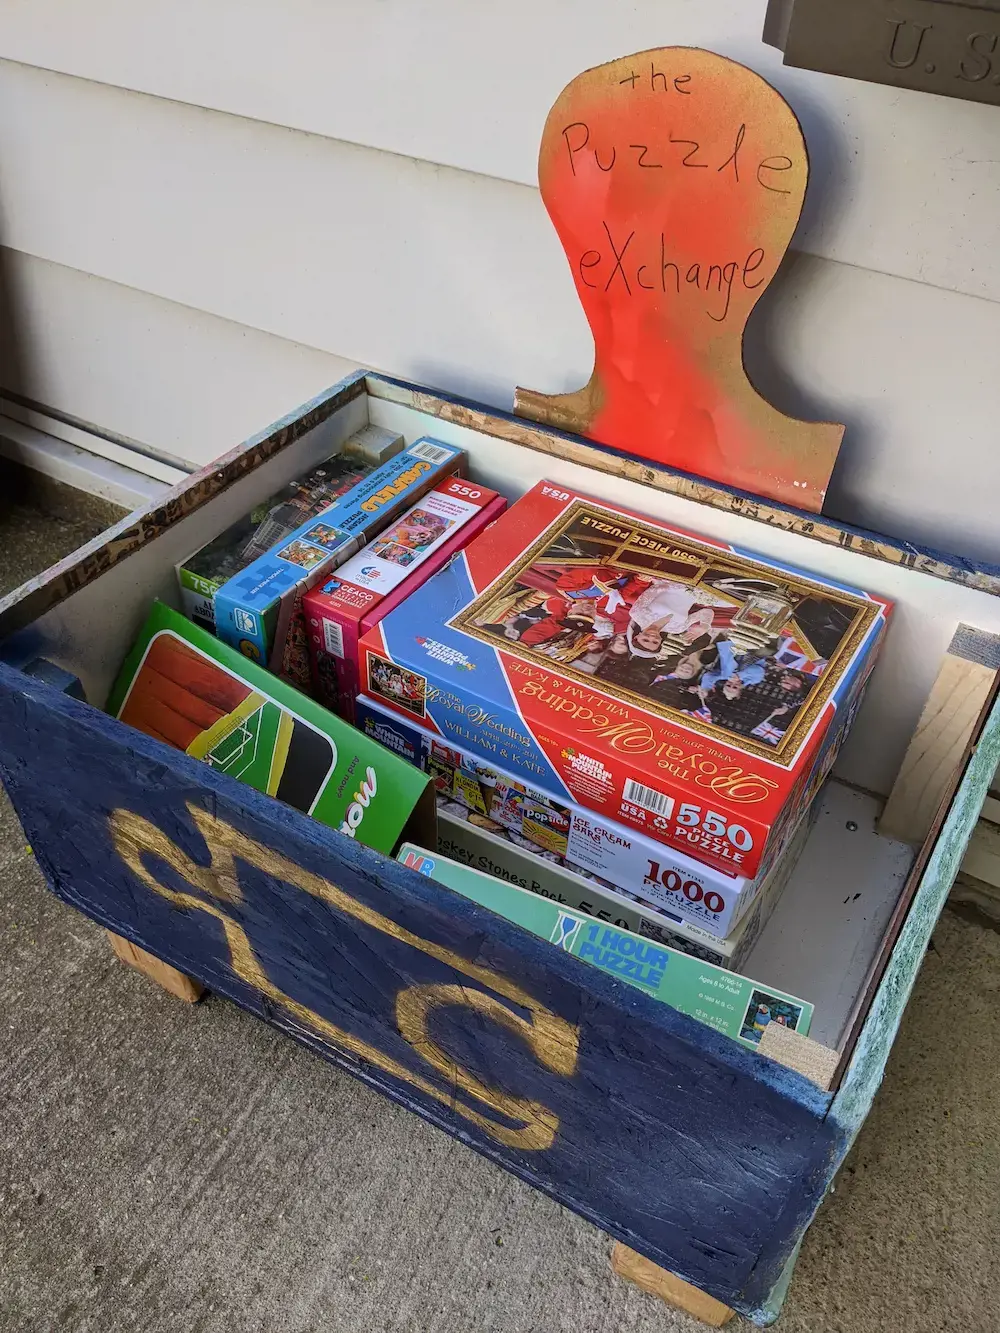
Are you an avid puzzler who has completed every puzzle in your collection? Instead of stashing them away or just donating them, why not host a puzzle exchange or swap? This is a fun way to get together with other puzzle enthusiasts and trade the finished puzzles you no longer want.
Here's how to get started:
- Gather a group: Reach out to your friends, family, or co-workers who love puzzles and invite them to the exchange. You could also post about it on social media or a local community board.
- Set the rules: Decide on the rules for the exchange. Will participants bring one finished puzzle to trade or can they bring multiple? Will the puzzles have to be a certain size or difficulty level? Set these guidelines ahead of time so everyone knows what to expect.
- Plan the event: Choose a location to host the exchange and set a date and time. Make sure you have enough table space and chairs for everyone to work on puzzles together.
- Bring your puzzles: Have everyone bring their completed puzzles to the exchange. You can have participants lay the puzzles out on the table where everyone can browse and choose which ones they would like to take home.
- Exchange time: Once everyone has had a chance to look through the puzzles, trade time begins! Participants can make one-on-one trades or do a group exchange where everyone chooses a new puzzle to take home.
- Enjoy the new puzzle: After the exchange, everyone can start working on their new puzzle. This is a great way to try out a new puzzle without having to buy it yourself, as well as getting to participate in a fun group activity.
Hosting a puzzle exchange is a great way to get together with friends and enjoy a shared hobby. Plus, it's a great way to get new puzzles without having to spend money. Try it out and see how much fun it can be!
14 Fun Activities to Experience in Carrollton, Kentucky
You may want to see also
![]()
Use for a team building activity at work
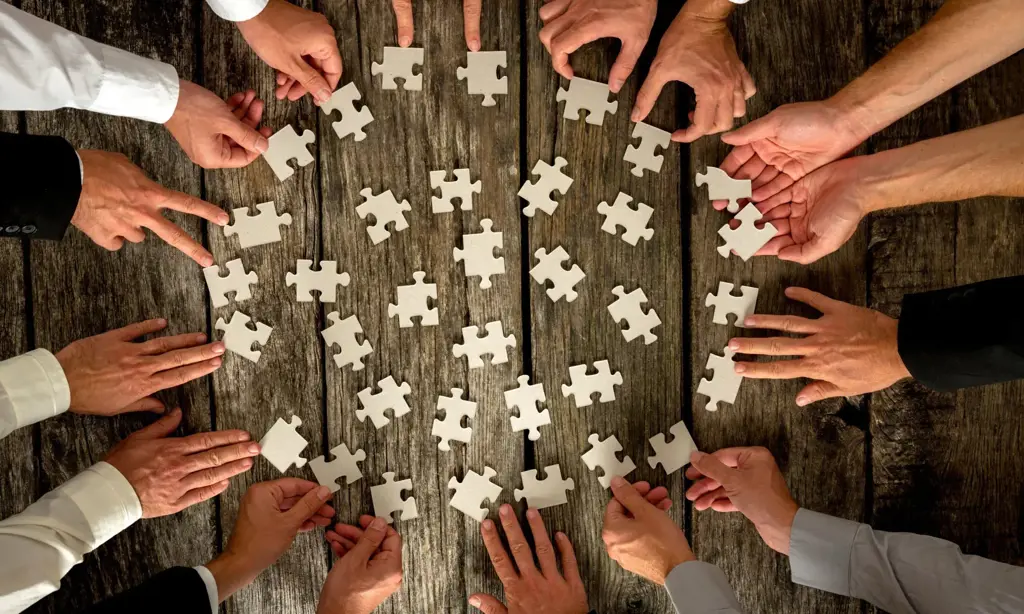
Puzzles are a great way to unwind and relax after a long day or week. But what do you do once you’ve completed a puzzle? Instead of adding it to your home decor, why not use it as a tool for team building at work? Here are some fun things you can do with finished puzzles to encourage collaboration and communication among your colleagues:
- Puzzle race: Divide your colleagues into teams and see who can finish a puzzle the fastest. You can make it even more challenging by mixing up the pieces of two or more puzzles and having each team sort them out before beginning assembly.
- Blind puzzle: Depending on the size of the puzzle, divide it into two or more sections and give each team a random section. Blindfold one member of each team and have them instruct their team on where to place the pieces to complete their assigned section.
- Puzzle swap: Have everyone bring in a completed puzzle and hold a puzzle swap. Each person presents their puzzle and explains why they chose it. Then, everyone trades puzzles and tries to complete the one they received in the least amount of time.
- Puzzle art: Instead of completing the puzzle as intended, have each team create their own unique work of art using the completed puzzle pieces. This exercise encourages creativity and innovation, and can even be used as office decor once completed.
- Puzzle hunt: Hide puzzle pieces around the office and have teams search for them. Once all the pieces have been found, the teams can work together to assemble the puzzle.
Using finished puzzles as a team building activity is not only fun, but also a great way to cultivate communication, collaboration, and problem-solving skills. So don’t let your completed puzzles go to waste – use them as a tool to bring your team closer together and strengthen your office culture.
13 Fun Things to Do in Corinth, MS
You may want to see also
![]()
Glue onto a cardboard backing for a homemade placemat
If you're a puzzle enthusiast, you know the satisfaction of completing a challenging puzzle. However, what do you do with the finished product? Instead of taking your puzzle apart and putting it back into the box, consider repurposing it into a practical and unique placemat.
Materials you will need:
- Finished puzzle
- Mod Podge or puzzle glue
- Cardboard or foam board
- Scissors
- Paintbrush
- Ruler
- Pencil
Steps:
- Choose a finished puzzle that you want to turn into a placemat. Make sure the puzzle is clean and free of any puzzle dust or debris.
- Measure the dimensions of the puzzle and cut a piece of cardboard or foam board to match those dimensions. A good size for a placemat is usually around 12 x 18 inches.
- Use a paintbrush to apply Mod Podge or puzzle glue to the back of the puzzle. Make sure to cover the entire surface of the puzzle.
- Carefully place the puzzle onto the cardboard or foam board backing, making sure it is centered and aligned properly. Press down gently to ensure the puzzle adheres to the backing.
- Allow the puzzle to dry for several hours or overnight. Once the puzzle is dry, flip it over and trim any excess cardboard or foam board from around the edges of the puzzle using scissors.
- Your puzzle placemat is now complete! You can use it as a functional placemat or even as a decorative piece for your table or wall.
Tips:
- If you don't have cardboard or foam board available, you can also use a thrift store placemat as a backing.
- If your puzzle has a glossy finish, you may want to sand it lightly before applying the glue, so that the glue will adhere better.
- If you want to add a bit of extra protection, you can also cover the finished placemat in clear contact paper.
In conclusion, don't let your finished puzzles gather dust in a closet. Turn them into a functional or decorative placemat that you can use and enjoy every day. With just a few simple materials and steps, you can create a unique and practical piece to add to your home decor collection.
14 Romantic Things to Do in Florida for Valentine's Day
You may want to see also
![]()
Make a DIY clock by adding clock hands to a completed puzzle
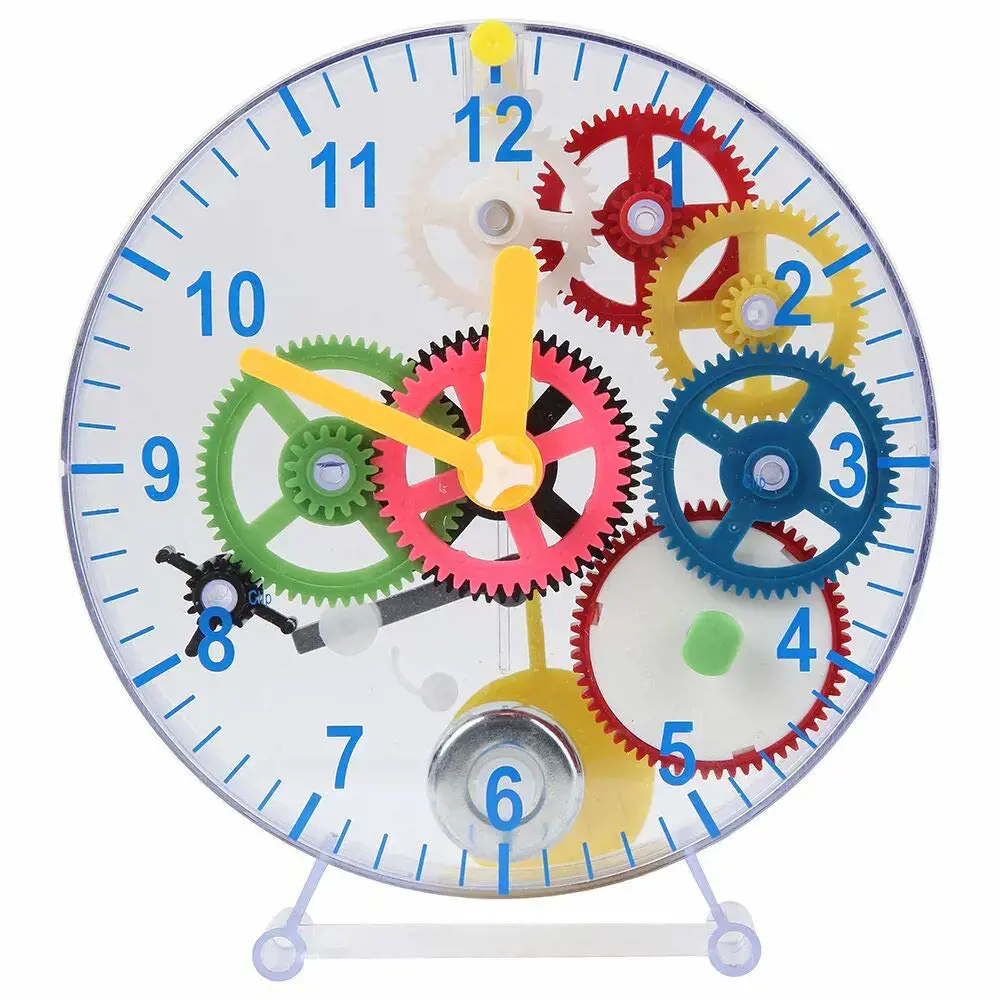
Puzzles are a great way to spend time, and once you complete a puzzle, you can show it off or take it apart again and start over. Another fun thing you can do with finished puzzles is to turn them into a DIY clock. With just a few supplies, you can create a unique and functional piece of art for your home or office.
Here is a simple guide to making a DIY clock from a completed puzzle:
Step 1: Gather Your Supplies
To make a clock from a puzzle, you will need the following supplies:
- A finished puzzle, preferably one that has a flat surface and is no larger than 24 x 24 inches
- Clock hands and a clock movement kit (you can find these at most craft stores or online)
- A pencil
- Scissors
- Glue or Mod Podge
- A paintbrush (optional)
Step 2: Plan Your Clock Design
Before you start cutting up your puzzle, it's important to plan your clock design. Decide where you want to place the clock hands and the numbers on your puzzle. You can use a pencil to mark the spots where the clock hands will go, or you can make a template out of cardboard to help you position everything correctly.
Step 3: Cut Out the Center of Your Puzzle
Using a pair of scissors, cut out a circle in the center of your puzzle that is slightly larger than the clock movement kit. Make sure to keep the shape as round as possible, and make the hole deep enough to accommodate the clock hands.
Step 4: Glue the Puzzle to a Backing Board
Once you have your puzzle cut out, glue it to a sturdy backing board using glue or Mod Podge. If your puzzle is made of cardboard, you may need to reinforce the back with additional cardboard or foam board to make it more stable.
Step 5: Add the Clock Movement Kit
Follow the instructions that came with your clock movement kit to assemble the clock hands and attach them to the movement. Then, insert the movement into the hole in your puzzle and secure it in place.
Step 6: Paint or Decorate Your Puzzle (Optional)
If you want to add some extra flair to your clock, you can paint or decorate your puzzle before attaching the clock hands. Use a paintbrush to apply a thin layer of Mod Podge to the areas you want to decorate, then add glitter, stickers, or other embellishments as desired.
Step 7: Hang Your Puzzle Clock
Once your clock is complete, hang it on the wall using a nail or picture hanger. You now have a unique and functional piece of art that is sure to impress your friends and family!
In conclusion, making a DIY clock from a completed puzzle is a fun and easy project that anyone can do. With just a few supplies and a little creativity, you can turn your puzzle into a one-of-a-kind clock that will add style and personality to any room in your home. So go ahead and give it a try – you might be surprised at how much fun you have!
12 Fun Activities to Experience in Pigeon Forge During December
You may want to see also
![]()
Turn into a unique picture frame
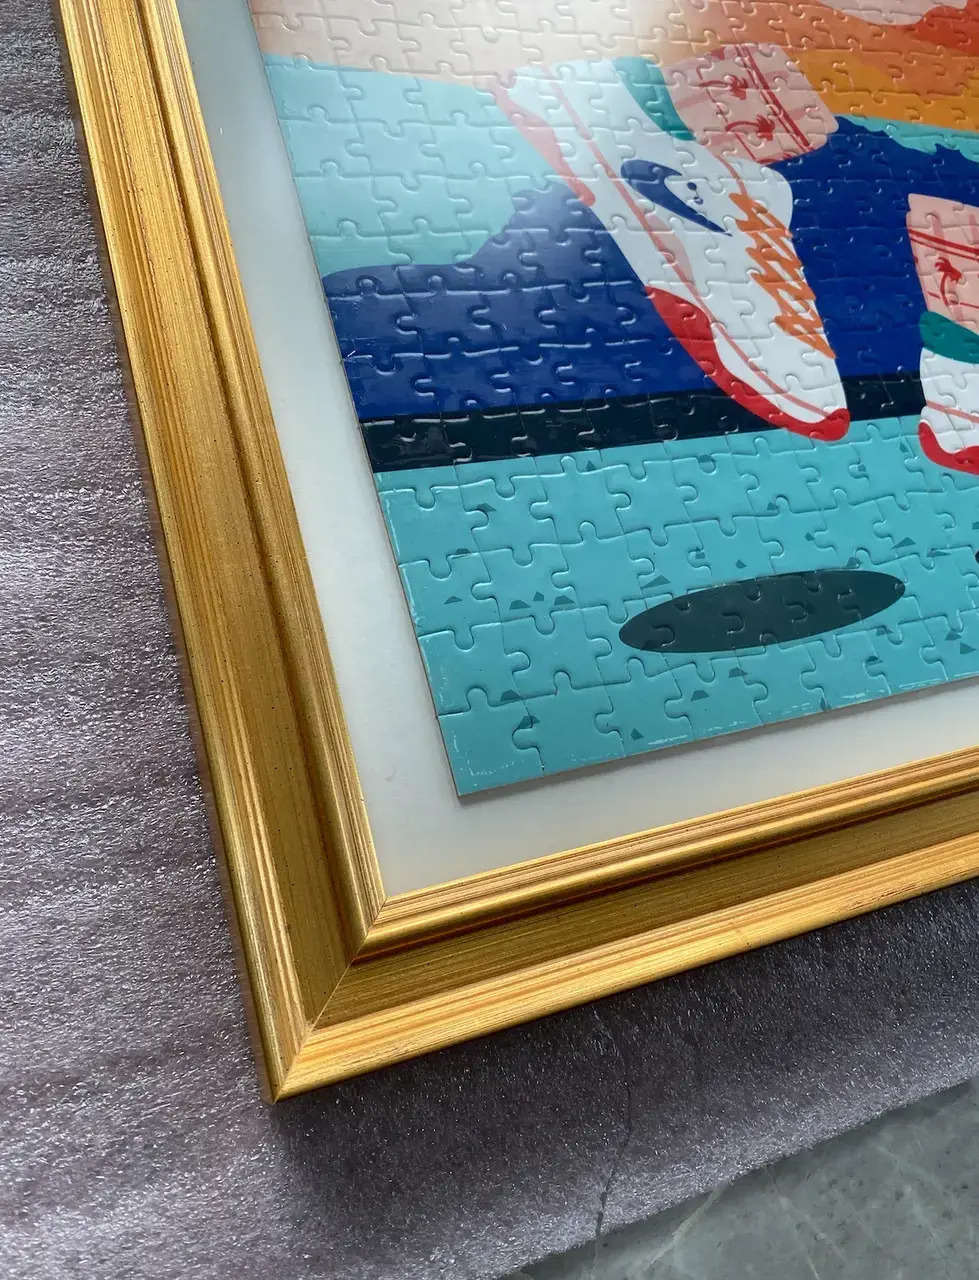
Completing a puzzle is a great way to spend leisure time. However, after completing it, you may wonder what to do with it. Well, have you considered transforming it into a unique picture frame? This can be a fun and creative way to make use of your finished puzzle and add personality to your home decor. Here are some tips on how to turn your finished puzzle into a one-of-a-kind picture frame.
Step One: Choose a puzzle that suits your decor
To start, select a puzzle that fits in with your home decor. Choose one that has a color or design that complements the room you will display your picture frame in. For example, if you have a black and white theme, choose a puzzle with black and white artwork.
Step Two: Pick up a blank picture frame
Next, buy a picture frame that fits your puzzle size. You should be able to find one in a craft store with a removable back panel. Look for a frame with a mat that has a hole cut out for your puzzle size. If you can’t find a frame of the right size, you can purchase a larger frame and cut it down.
Step Three: Mount your puzzle
After you have your puzzle and frame, it's time to mount the puzzle. To do this, carefully remove the puzzle pieces from the board they are on to avoid damaging any. Once you have removed all the pieces, place them on the mat in the frame. Make sure everything lines up as you want it before attaching it to the mat. Once you’ve made sure everything is placed correctly, use glue (preferably clear-drying) to fix the pieces onto the frame’s mat.
Step Four: Reassemble the frame
This is the final step in converting your puzzle into a picture frame. Reassemble the frame and put everything back into place. Once you’re finished, you’ve created a unique and personalized piece of art that will give your home a fun and creative touch.
In conclusion, turning your finished puzzle into a picture frame is a fun and creative project that provides you with a personalized piece of decoration. All you need to do this project is a blank picture frame, a puzzle, some glue, and your creativity. Follow these easy steps, and you'll have a one-of-a-kind decoration to show off your finished puzzle!
13 Fun Things to Do in Columbus, Ohio This Memorial Day Weekend
You may want to see also
![]()
Use as a backdrop for photo shoots
Are you looking for ways to make your completed jigsaw puzzles more than just a source of entertainment? Why not use them as a backdrop for your photo shoots? This is a fun and creative way to make use of your finished puzzles and create some memorable moments with your friends and family.
Here are some tips on how to use your finished puzzles as a backdrop for photoshoots:
Choose the Right Puzzle
The first step is to choose the right puzzle for your photo shoot. Select a puzzle with bright, vibrant colors and intricate designs. Avoid puzzles with dull colors and simple designs, as they will not make for an interesting backdrop.
Set Up a Photography Station
Select an open space with good lighting to set up your photography station. Make sure that your puzzle is arranged properly and is completely flat to avoid any wrinkles or creases. You may also want to use a protective cover to prevent any damage to your puzzle.
Choose Props and Accessories
To make your photoshoot more interesting, consider adding props and accessories. You can add plants, flowers, or other small decorative items to complement the colors and design of the puzzle. You may also want to include some personal touches such as a favourite book or a favourite piece of clothing.
Pose with Confidence
Now that you have created the perfect backdrop, it's time to start posing for photos. Encourage your friends and family to strike a pose and have fun with it. Remember, the more creative you are, the better the photos will turn out.
Using your finished puzzles as a backdrop for photo shoots is a fun and creative way to make use of your completed jigsaw puzzles. With these tips, you can turn your puzzle into a work of art and create unforgettable memories with your loved ones. So why not try it out today? Your photos will be unique and full of personality!
12 Amazing Activities to Experience in Fujairah
You may want to see also
![]()
Make into a tray by attaching handles to the sides of the puzzle
One of the best things about completing a puzzle is having a beautiful and intricate piece of art to admire. But once you're done admiring the finished product, what can you do with it? One fun and practical idea is to turn it into a tray by attaching handles to the sides of the puzzle.
First, you'll need to choose a puzzle that is the right size and shape for a tray. Ideally, it will be rectangular or square, with enough space to comfortably fit a few items. Once you've completed the puzzle, use a strong glue to attach handles to each side of the puzzle. You can find handles at a hardware store or craft store, or you can repurpose handles from an old tray or drawer.
Once the glue has dried, your puzzle tray is ready to use! You can use it to serve drinks or snacks at a party, or as a catch-all tray on your coffee table or nightstand. It also makes a great gift for puzzle-lovers or anyone who appreciates unique and handmade home decor.
If you want to add even more personalization to your puzzle tray, you can paint or stain the puzzle pieces or the handles. Use colors that complement your existing decor, or go wild with bright and bold hues for a unique and eye-catching piece.
In conclusion, turning a finished puzzle into a tray by attaching handles to the sides is a fun and practical way to repurpose your completed puzzle. Not only will it showcase your hard work and creativity, but it will also serve a useful purpose in your home. Give it a try and see how impressed your friends and family will be with your ingenuity!
12 Essential Things to Do in Champagne, France
You may want to see also
![]()
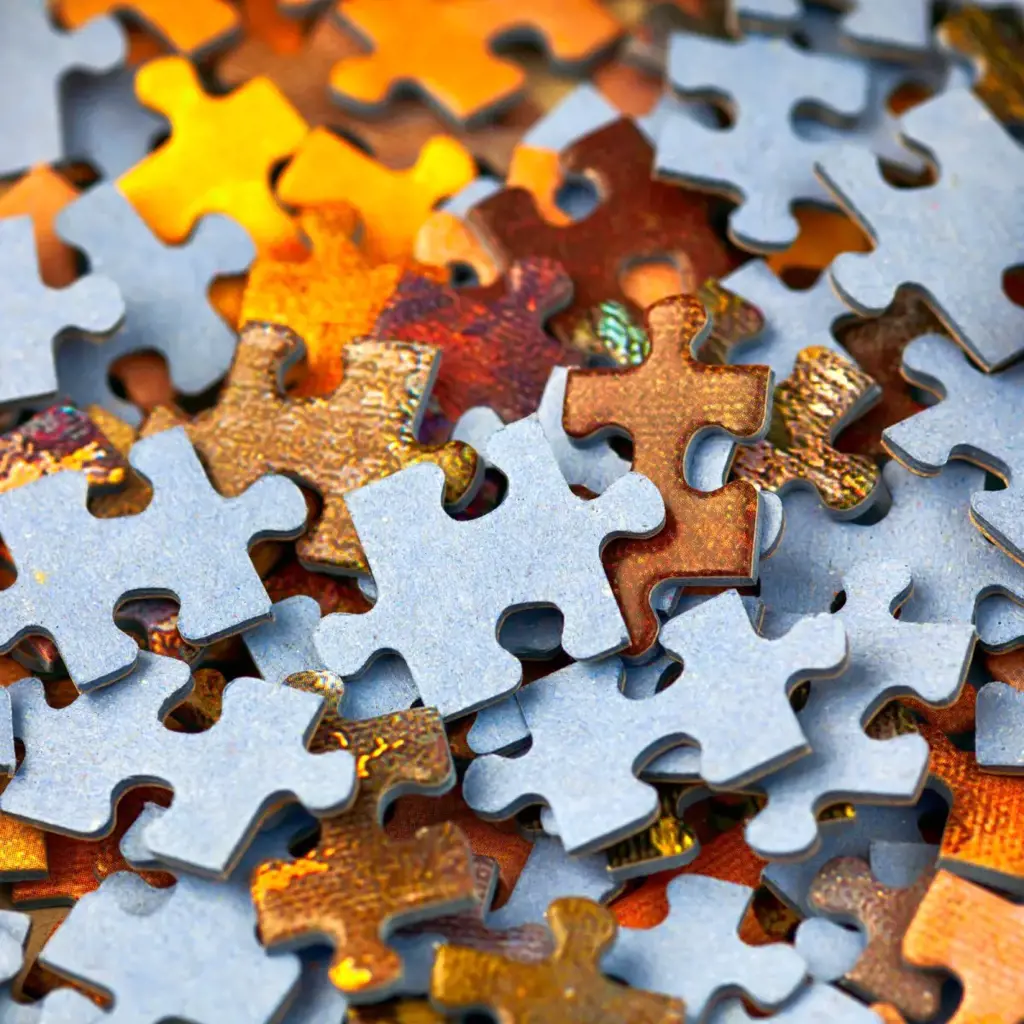
Cut into smaller pieces and use as gift tags
Puzzles are not only a great way to pass the time but once completed, they can be used for many different purposes. One fun and creative way to use finished puzzles is by cutting them into smaller pieces and using them as gift tags. It is a unique and personalized way to add some extra charm to your gifts.
Here are a few steps to follow when making gift tags out of finished puzzles:
Step 1: Select the finished puzzle you want to use and decide how many gift tags you want to make. This will determine how many pieces you will need to cut out. You can use regular scissors or a paper cutter for this.
Step 2: Once you have your designated number of puzzle pieces, use a hole puncher to make a hole at the top of each piece.
Step 3: Finally, attach a ribbon or string through the hole and tie it to your gift.
By using finished puzzles as gift tags, you add a unique and creative touch to your presents. It is also a great way to recycle puzzles that you have already completed and make use of them in a fun manner. It shows that you have taken the time to create something special for your recipient. These gift tags are great for all occasions and can be personalized for each recipient with their favorite colors, patterns, or imagery from the puzzle.
In conclusion, cutting finished puzzles into smaller pieces and using them for gift tags is a great way to add an extra element of creativity and fun to your gift-giving. It’s a simple and easy way to recycle old puzzles and create something unique that your recipient will surely appreciate. Give it a try and see how much your gift recipients love the personalized touch that these gift tags add!
13 Fun and Unique Things to Do in Gainesville, GA
You may want to see also
![]()
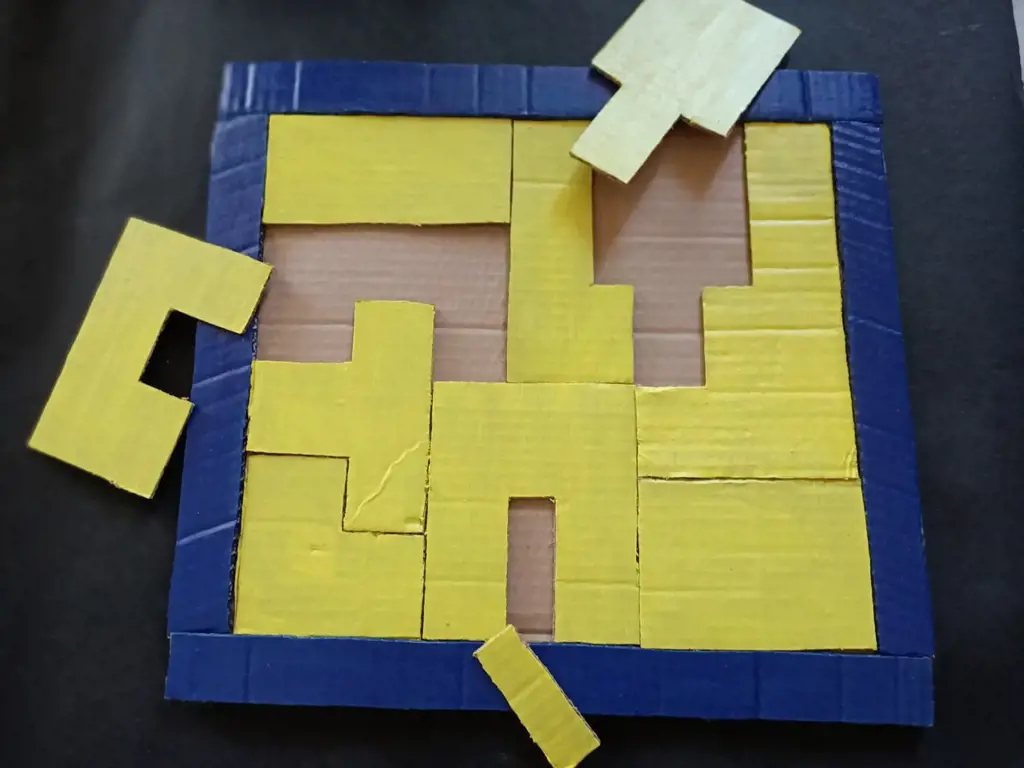
Create a custom jigsaw puzzle by gluing the finished puzzle onto a blank puzzle template

If you have a finished puzzle lying around your house and you're wondering what to do with it, creating a custom jigsaw puzzle might just be the perfect idea for you. Not only will you have a unique piece of art to show off, but you'll also have a fun new puzzle for future use. In this article, we'll take a closer look at how you can create a custom jigsaw puzzle by gluing your finished puzzle onto a blank puzzle template.
Step 1: Gather Supplies
To create a custom puzzle, you'll need your finished puzzle, a blank puzzle template (which can be purchased online or found at your local craft store), puzzle glue, scissors, and a foam brush.
Step 2: Glue the Finished Puzzle
Begin by carefully flipping your finished puzzle over, ensuring that all the pieces are in place. Use a foam brush to apply puzzle glue to the backside of the puzzle, making sure to cover each piece thoroughly. Allow the glue to dry completely before moving on to the next step.
Step 3: Cut the Puzzle
Using a pair of scissors, carefully cut your finished puzzle into pieces along the edges of each shape. Take your time while cutting to ensure that you don't accidentally cut through a crucial part of the puzzle.
Step 4: Glue the Puzzle Pieces to the Template
Now it's time to glue the individual puzzle pieces to the blank puzzle template. Work piece by piece, applying a small amount of glue to the back of each puzzle piece and pressing it onto the corresponding spot in the template. Take your time during this step to ensure that each piece is in the correct place.
Step 5: Allow the Puzzle to Dry
After you've glued all the puzzle pieces to the template, allow the glue to dry thoroughly. This may take a few hours or even overnight, depending on the type of glue you used.
Step 6: Put the Puzzle Together
Once the glue is dry, you can start putting your custom puzzle together! Just like with any other jigsaw puzzle, try to match the colors and patterns on each piece to put them in the right spot. If you're struggling to complete the puzzle, you can always refer back to the original finished puzzle for reference.
In Conclusion
If you're looking for a fun and creative way to repurpose your finished puzzles, creating a custom jigsaw puzzle might be the perfect idea for you. By following the simple steps outlined in this article, you can create a unique puzzle that you can enjoy with friends and family for years to come. So why not give it a try today!
12 Fantastic Activities to Enjoy in New Orleans during March!
You may want to see also
![]()
Use as a background for homemade greeting cards

Finished puzzles can be more than just decorative items for your wall. They can also be used in a variety of fun ways, such as creating homemade greeting cards. Here are some tips on how to turn your completed puzzles into unique and personalized cards that are perfect for any occasion.
First, select a puzzle that has an interesting design or color scheme that would make a beautiful background for your card. The size of the puzzle should be based on the size of the card you want to make. For example, a 500-piece puzzle might be too large for a standard greeting card, but a 100-piece puzzle could work well.
Next, carefully separate the puzzle pieces from each other. Use a thin, flat tool, like a butter knife or a credit card, to gently pry the pieces apart. Be sure to handle the pieces carefully to avoid bending or breaking them.
Once you have all the puzzle pieces separated, start arranging them on the front of your card. You can create any design or pattern you like, from a simple border around the edge of the card to a more detailed scene in the center. Experiment with different arrangements until you find one that you like.
Once you have the puzzle pieces arranged the way you want, it's time to glue them down. Use a small amount of white glue on the back of each piece, and then press it firmly onto the card. Be sure to hold the piece in place for a few moments to ensure that it sticks well.
Once all the pieces are glued down, let the card dry completely. You can then add any additional decoration, like stickers, rubber stamps, or glitter. Write a personalized message inside, and you have a unique and thoughtful homemade greeting card!
In conclusion, using finished puzzles as a background for homemade greeting cards is a fun and creative way to repurpose your completed puzzles. With a little bit of effort and some creativity, you can create a one-of-a-kind card that is sure to impress your friends and family. So, the next time you finish a puzzle, before you toss it aside, remember it can be turned into a beautiful greeting card.
12 Fun Nighttime Activities in Bellevue to Experience After Dark
You may want to see also
Frequently asked questions
You can mount it on a foam board or frame it to display on a wall. You can also glue it onto a surface such as a table or tray to use as a functional piece of décor.
Yes, you can make your own unique jewelry, like earrings or necklaces, by gluing puzzle pieces onto a base. You can also use them to create fun craft projects like wreaths, ornaments, and picture frames.
Yes, some organizations accept finished puzzles as donations. You can also recycle the pieces by using them for art projects or turning them into a mosaic on a surface.
You can time yourself and try to finish the puzzle faster than your last attempt. You can also try to complete it without looking at the picture on the box or turn it upside down for an added challenge.
You can create your own puzzle race by splitting the pieces in half and having two teams race to complete their puzzle first. You can also use the pieces to play a memory game by flipping them over and trying to match two identical pieces.


6 Comments
Carrie Washington
Michaela Krajanova
AuthorSydney Frederick
Karli Trujillo
AuthorValerie Mcgowan
Melissa Carey
Author