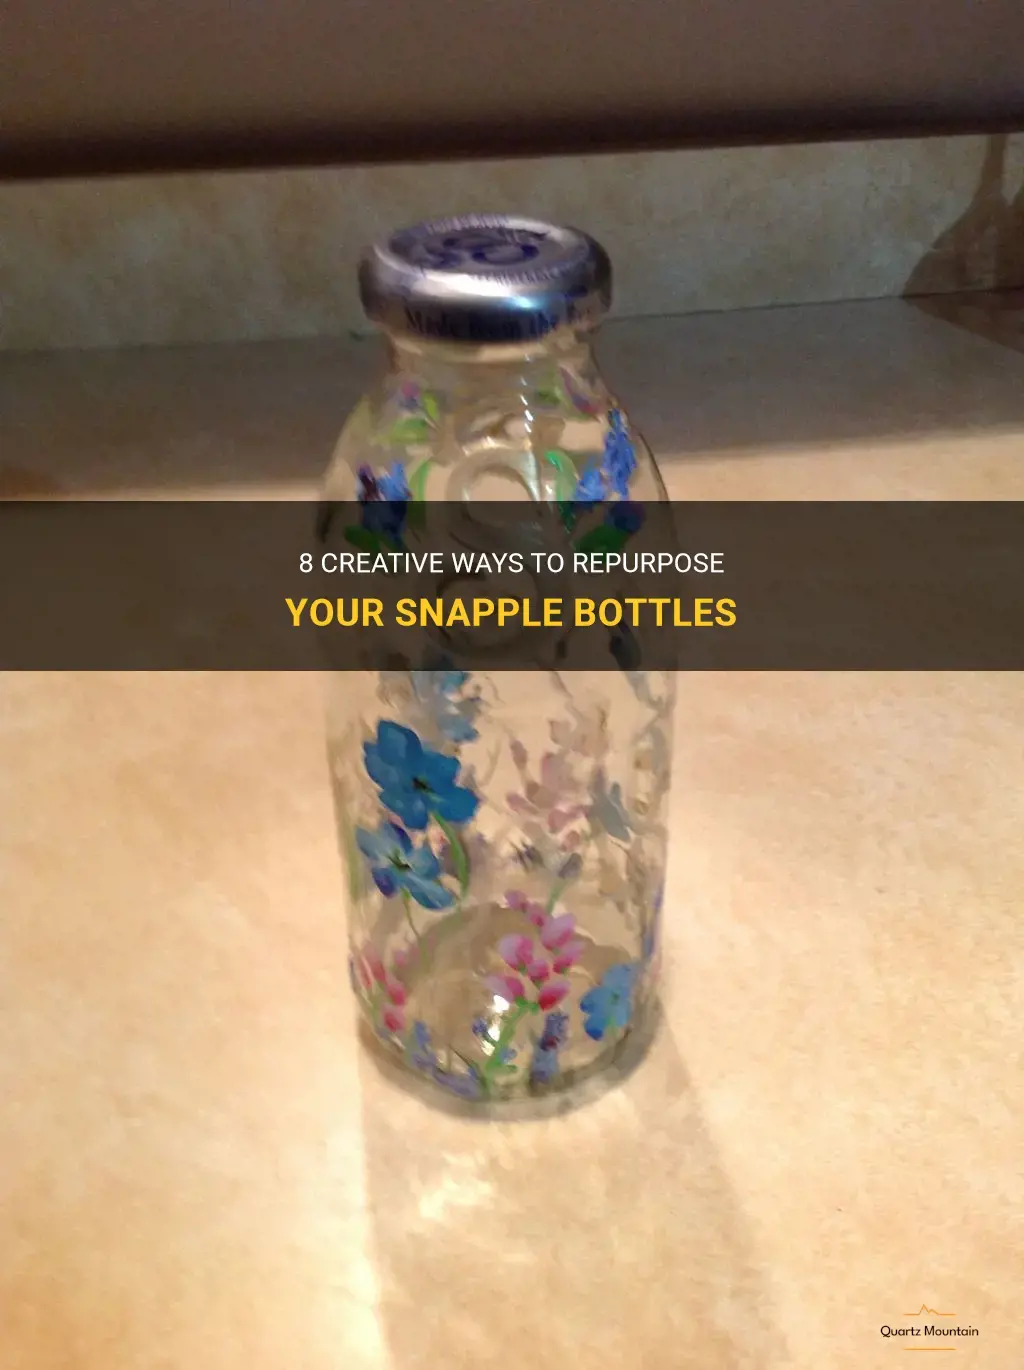
Are you a fan of Snapple drinks but hate seeing the empty bottles go to waste? Fear not! In this article, we will explore eight creative ways to repurpose your Snapple bottles, transforming them into functional and stylish items for your home and garden. From planters and vases to DIY crafts and storage solutions, these innovative ideas will not only help reduce waste but also showcase your creativity. So grab those empty Snapple bottles and let's get repurposing!
| Activity | Description |
|---|---|
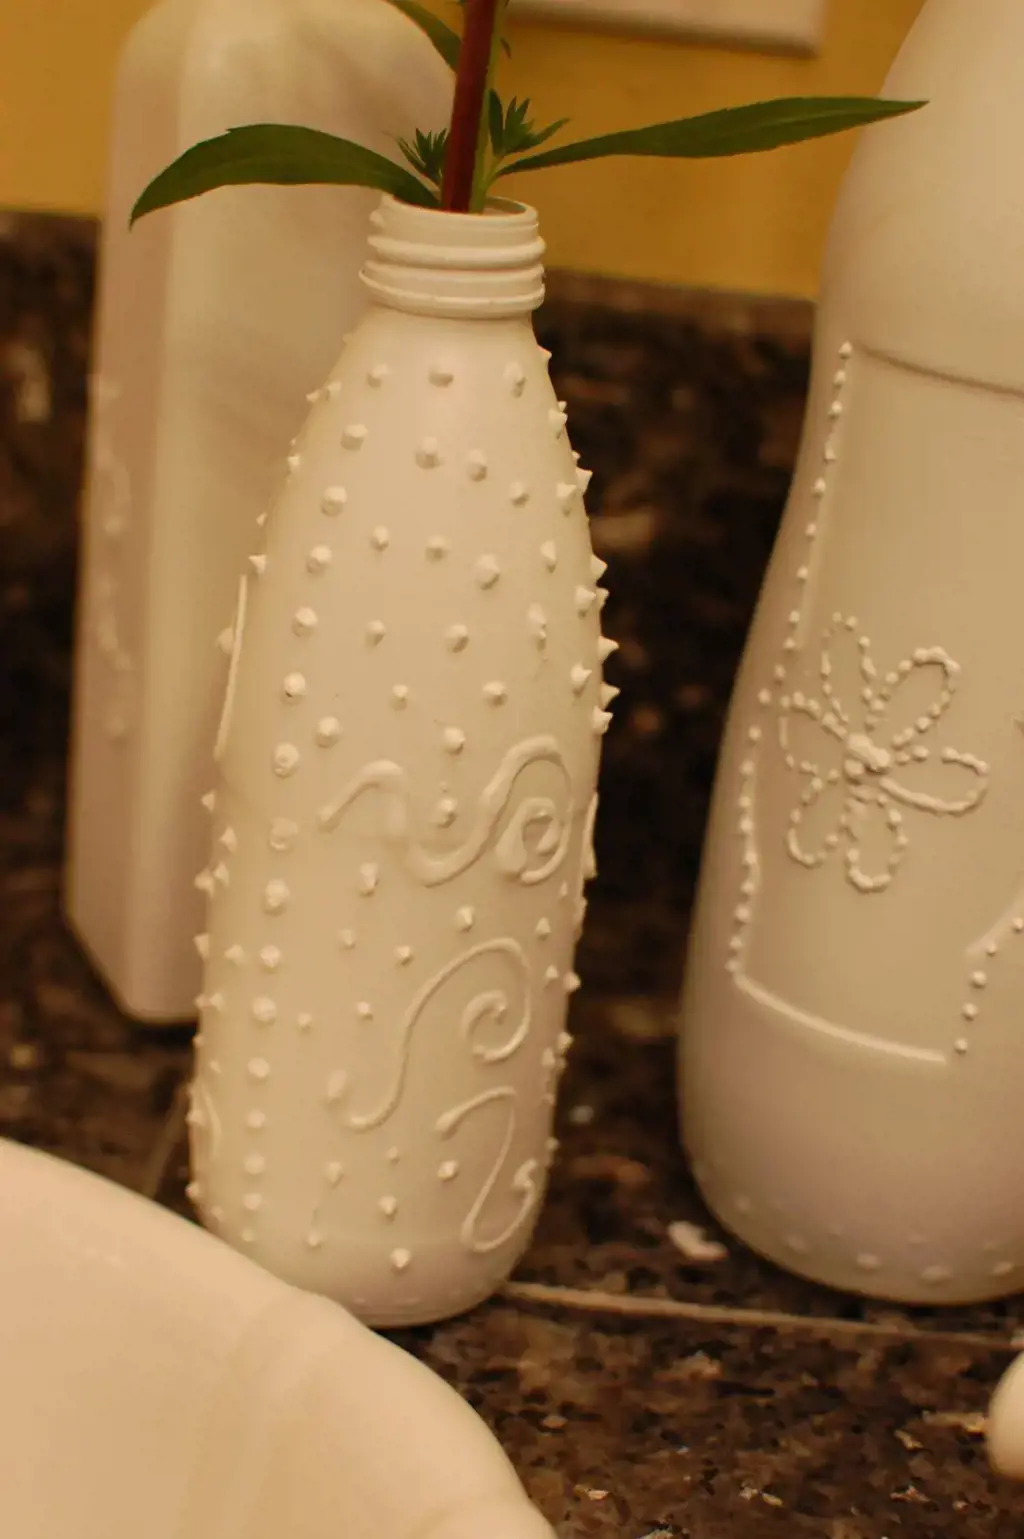
| Snapple bottle vase | Transform the empty Snapple bottle into a decorative vase by adding colorful flowers. |
| Snapple bottle candle holder | Cut the bottom off the Snapple bottle to create a unique candle holder. |
| Snapple bottle terrarium | Create a miniature plant ecosystem by filling the Snapple bottle with soil, plants, and small decorative elements. |
| Snapple bottle bird feeder | Cut holes in the sides of the Snapple bottle and fill it with birdseed to make a simple bird feeder. |
| Snapple bottle piggy bank | Cut a coin slot in the lid of the Snapple bottle to make a homemade piggy bank. |
| Snapple bottle water sprinkler | Poke holes in the lid of the Snapple bottle and attach it to a hose for a DIY water sprinkler. |
| Snapple bottle musical instrument | Fill the Snapple bottle with different levels of water to create different musical tones when tapped. |
| Snapple bottle painting | Use the Snapple bottle as a paintbrush to create unique paintings with its cylindrical shape. |
| Snapple bottle herb garden | Repurpose the Snapple bottle as a herb planter by filling it with soil and planting herbs. |
| Snapple bottle maracas | Fill the Snapple bottle with small beads or rice to create homemade maracas. |
What You'll Learn
- Flower vases for your home or office
- DIY herb garden in your kitchen
- Craft storage containers for buttons, beads, and other small supplies
- Portable salad containers for on-the-go lunches
- Homemade candle holders
- Seedling starters for your garden
- Unique water bottles for workouts or on-the-go hydration
- DIY bird feeders for your backyard
- Note: Locations were not applicable for this topic
![]()
Flower vases for your home or office
If you have a collection of empty Snapple bottles lying around, don't just throw them away! Instead, why not repurpose them into stylish flower vases for your home or office? With a little creativity and some basic crafting supplies, you can transform these bottles into beautiful and unique home decor pieces.
To create your Snapple bottle flower vases, you will need the following materials:
- Empty Snapple bottles
- Acrylic paint or spray paint
- Paintbrushes
- Decorative items (such as ribbons, beads, or charms)
- Hot glue gun
- Flowers or greenery of your choice
Here's a step-by-step guide on how to create your Snapple bottle flower vases:
- Clean and remove any labels from your Snapple bottles. You can soak them in warm, soapy water to loosen the labels and then scrub them off with a sponge or a scrub brush.
- Once the bottles are clean and dry, you can start painting them. You can either use acrylic paint and a brush or spray paint for a smooth and even finish. Choose colors that match your home or office decor. Alternatively, you can leave the bottles clear or use a transparent glass paint to create a stained glass effect.
- While waiting for the paint to dry, you can start embellishing your bottles. You can use ribbons, beads, or charms to add a touch of elegance or to match a specific theme. Using a hot glue gun, carefully attach these decorations around the neck or the body of the bottle. Be creative and experiment with different designs.
- Once the paint is completely dry and the decorations are securely attached, it's time to fill your Snapple bottle flower vases with water and flowers. You can choose fresh flowers from your garden or opt for artificial blooms for a longer-lasting arrangement. Alternatively, you can also add greenery or dried flowers for a unique and rustic look.
- Arrange your flowers or greenery inside the bottle, making sure the stems are placed evenly and securely. You can use floral foam or a small amount of water-absorbing crystals to help keep the flowers fresh, especially if you are using fresh blooms.
- Display your Snapple bottle flower vases in your home or office. They can be placed on shelves, desks, or tables, adding a pop of color and a touch of nature to your space.
By repurposing your Snapple bottles into flower vases, you not only reduce waste but also create beautiful and unique pieces of home decor. These DIY vases can be customized to match any style or theme, making them a versatile and cost-effective way to add a personal touch to your space. So next time you finish a Snapple drink, save the bottle and get crafty with these fun and creative projects!
12 Exciting Things To Do In Miami Airport
You may want to see also
![]()
DIY herb garden in your kitchen
If you're a fan of Snapple, you probably have a collection of empty bottles lying around. Instead of throwing them away, why not give them a new life by creating a DIY herb garden in your kitchen? Not only will it add a touch of greenery to your space, but it will also provide you with fresh herbs to use in your cooking. Here's how you can do it:
- Gather your materials: In addition to your Snapple bottles, you'll need a tray or a crate to hold the bottles, potting soil, and your choice of herb seeds. Select herbs that you use frequently in your cooking, such as basil, parsley, mint, or thyme.
- Clean the bottles: Start by rinsing out the Snapple bottles thoroughly to remove any residue or sticky labels. You can use warm soapy water to clean them. Make sure to remove the caps as well.
- Prepare the bottles: With a utility knife, carefully cut a small hole in the middle of each bottle cap. This will allow for drainage when you water your herbs. Alternatively, you can drill small holes in the bottom of the bottles if you prefer.
- Fill the bottles with soil: Fill each Snapple bottle with potting soil, leaving about an inch of space at the top. Press the soil gently to compact it slightly.
- Plant the seeds: Follow the instructions on the seed packet to determine the appropriate planting depth for your chosen herbs. Plant a few seeds in each bottle, cover them with a layer of soil, and gently pat it down.
- Water the herbs: Once you've planted the seeds, give them a good watering. Be careful not to overwater, as the bottles don't have drainage holes. Check the soil every few days and water when it feels dry to the touch.
- Provide adequate sunlight: Place your herb garden in a location that receives plenty of sunlight. Most herbs need at least six hours of direct sunlight per day to thrive.
- Maintain and harvest: Keep an eye on your herbs as they grow. Thin out the seedlings if they become overcrowded, leaving only the strongest ones to grow. As the herbs mature, you can start harvesting the leaves as needed for your recipes.
By repurposing your Snapple bottles, you can create a functional and visually appealing herb garden right in your kitchen. Not only will it add a touch of green to your space, but it will also provide you with fresh herbs for your cooking needs. Enjoy the satisfaction of growing your own herbs and the delicious flavors they bring to your dishes!
Nighttime Adventures in Maui: Exciting Things to Do After Sunset
You may want to see also
![]()
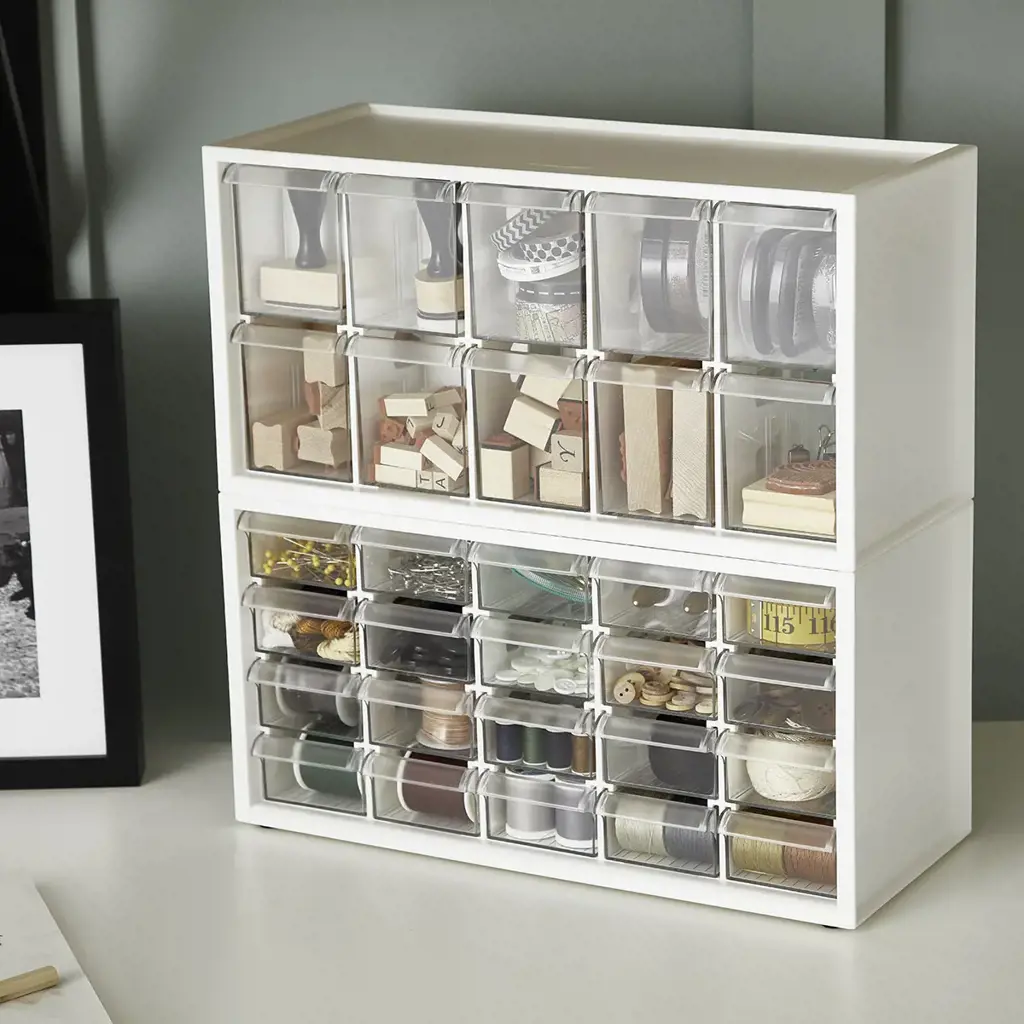
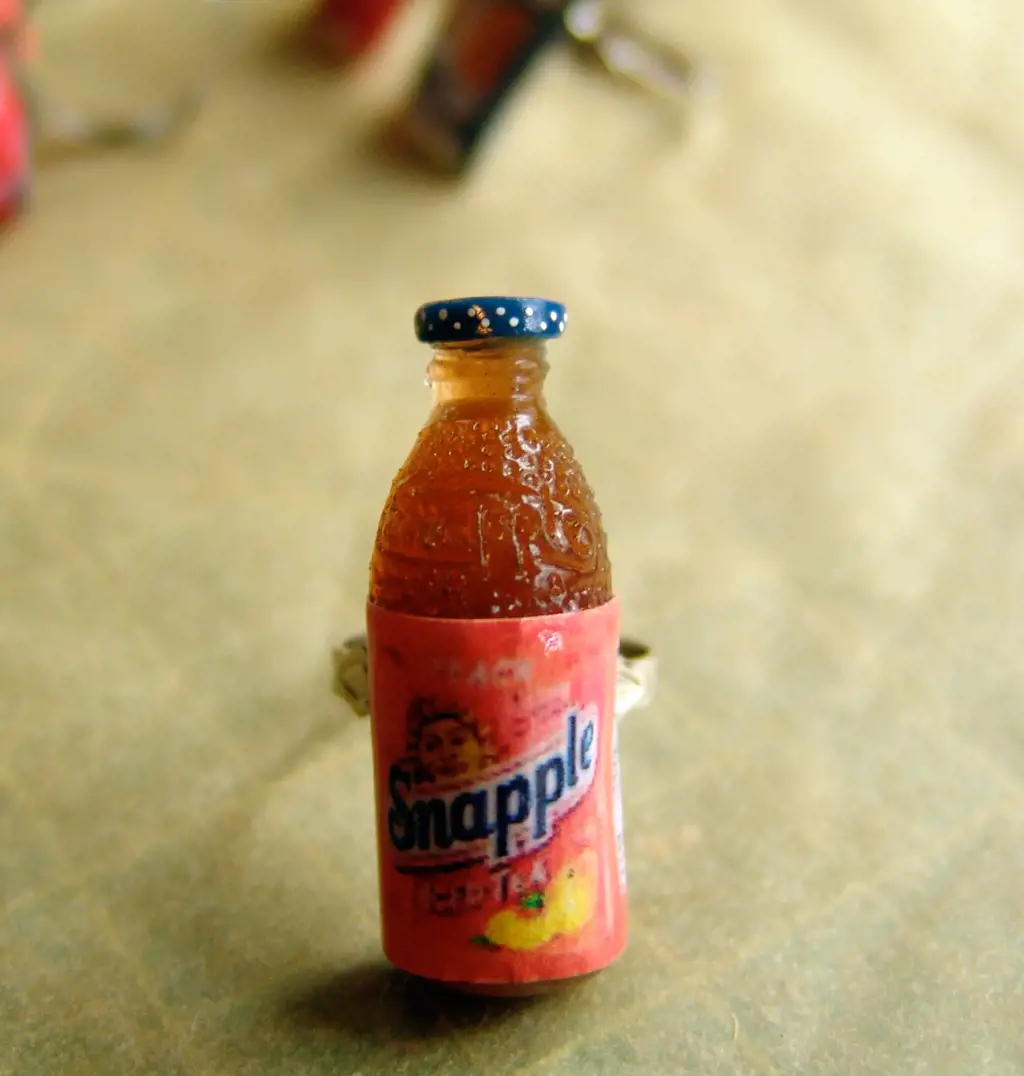
Craft storage containers for buttons, beads, and other small supplies
To start, gather your materials. You will need empty Snapple bottles, craft glue, a pair of scissors, and any additional materials you want to decorate your containers with, such as paint, stickers, or fabric.
The first step is to remove the label from the Snapple bottle. You can do this by soaking the bottle in warm soapy water for a few minutes. Then, use your fingers or a sponge to gently peel off the label. If there is any residue left, you can use a bit of rubbing alcohol to remove it.
Next, measure how high you want your container to be. Using a pair of scissors, carefully cut the top of the Snapple bottle to your desired height. Be sure to make even cuts to ensure that your container will sit flat on a surface.
Now it's time to get creative and decorate your storage container. You can use paint, stickers, or fabric to add a personal touch to your container. If you choose to paint your container, allow it to dry completely before moving on to the next step.
Once your container is dry, it's time to add a lid. Take the cap from the Snapple bottle and attach it to the cut end of the bottle using craft glue. Apply a generous amount of glue to ensure that the lid is securely attached. Allow the glue to dry completely before using your container.
Now your Snapple bottle has been transformed into a stylish and functional storage container. You can use it to store buttons, beads, and other small craft supplies. The clear plastic allows you to easily see what is inside, making it easy to find the supplies you need for any project.
If you have multiple Snapple bottles, you can create a set of storage containers to keep your craft supplies even more organized. Simply repeat the steps above for each bottle, and you'll have a matching set of containers.
In addition to buttons, beads, and other small supplies, these storage containers can also be used to store other small items like paper clips, thumbtacks, or even spices in your kitchen. The possibilities are endless!
Repurposing Snapple bottles into craft storage containers is a fun and creative project that not only helps you stay organized but also gives new life to everyday objects. So the next time you finish a Snapple, don't throw away the bottle – turn it into a useful storage container instead!
12 Fun and Exciting Things to Do in Clayton, NC
You may want to see also
![]()
Portable salad containers for on-the-go lunches
One creative way to reuse Snapple bottles is to transform them into portable salad containers for on-the-go lunches. These bottles are perfect for holding individual servings of salads, making them the ideal choice for those who prefer to bring their own meals to work or school. Here's a step-by-step guide on how to turn your Snapple bottles into convenient and eco-friendly salad containers.
Step 1: Gather Your Materials
To get started, collect the following materials:
- Empty Snapple bottles (cleaned and dried)
- A sharp knife or scissors
- Fresh salad ingredients of your choice
- Dressing or other toppings
- Rubber bands or large elastic bands
- Optional: small plastic or silicone containers for toppings or dressings
Step 2: Prepare the Bottle
Remove any labels from the Snapple bottle and wash it thoroughly with soap and water. Make sure it is completely dry before continuing.
Step 3: Cut the Bottle
Using a sharp knife or scissors, carefully cut the Snapple bottle in half horizontally. This will create two separate containers, one for the salad ingredients and one for the dressing or other toppings if desired. Ensure that the cut is smooth and even to prevent any leaks.
Step 4: Fill the Bottom Half
Take the bottom half of the Snapple bottle and layer it with your favorite salad ingredients. You can include a variety of fresh vegetables, fruits, or protein sources such as grilled chicken or tofu. This is your chance to get creative and build a salad that suits your taste preferences.
Step 5: Dressing and Toppings
If you want to include dressing or other toppings, place them in a small plastic or silicone container and secure it within the top half of the Snapple bottle. This will ensure that your salad remains fresh and won't become soggy.
Step 6: Seal it Up
Once you have filled both halves of the Snapple bottle, carefully place the top half over the bottom half to seal the container. Use rubber bands or large elastic bands to secure the two halves together, creating a firm seal. This will prevent any spills or leaks while you're on the move.
Step 7: Pack and Enjoy
Your portable salad container is now ready to be packed in your lunch bag or backpack. The design of the Snapple bottle ensures that your salad stays fresh and crisp until you're ready to enjoy it. When lunchtime arrives, simply remove the rubber bands, separate the two halves, and voila – a healthy and convenient lunch is ready to be enjoyed.
By reusing Snapple bottles, you not only reduce waste, but you also create a practical and eco-friendly solution for your on-the-go lunches. These portable salad containers are not only easy to make, but they also help you maintain a healthy lifestyle by encouraging homemade meals. Give it a try and see how your Snapple bottle can be repurposed into a lunchtime essential!
11 Fun Activities to Enjoy on a Virtual Sleepover
You may want to see also
![]()
Homemade candle holders
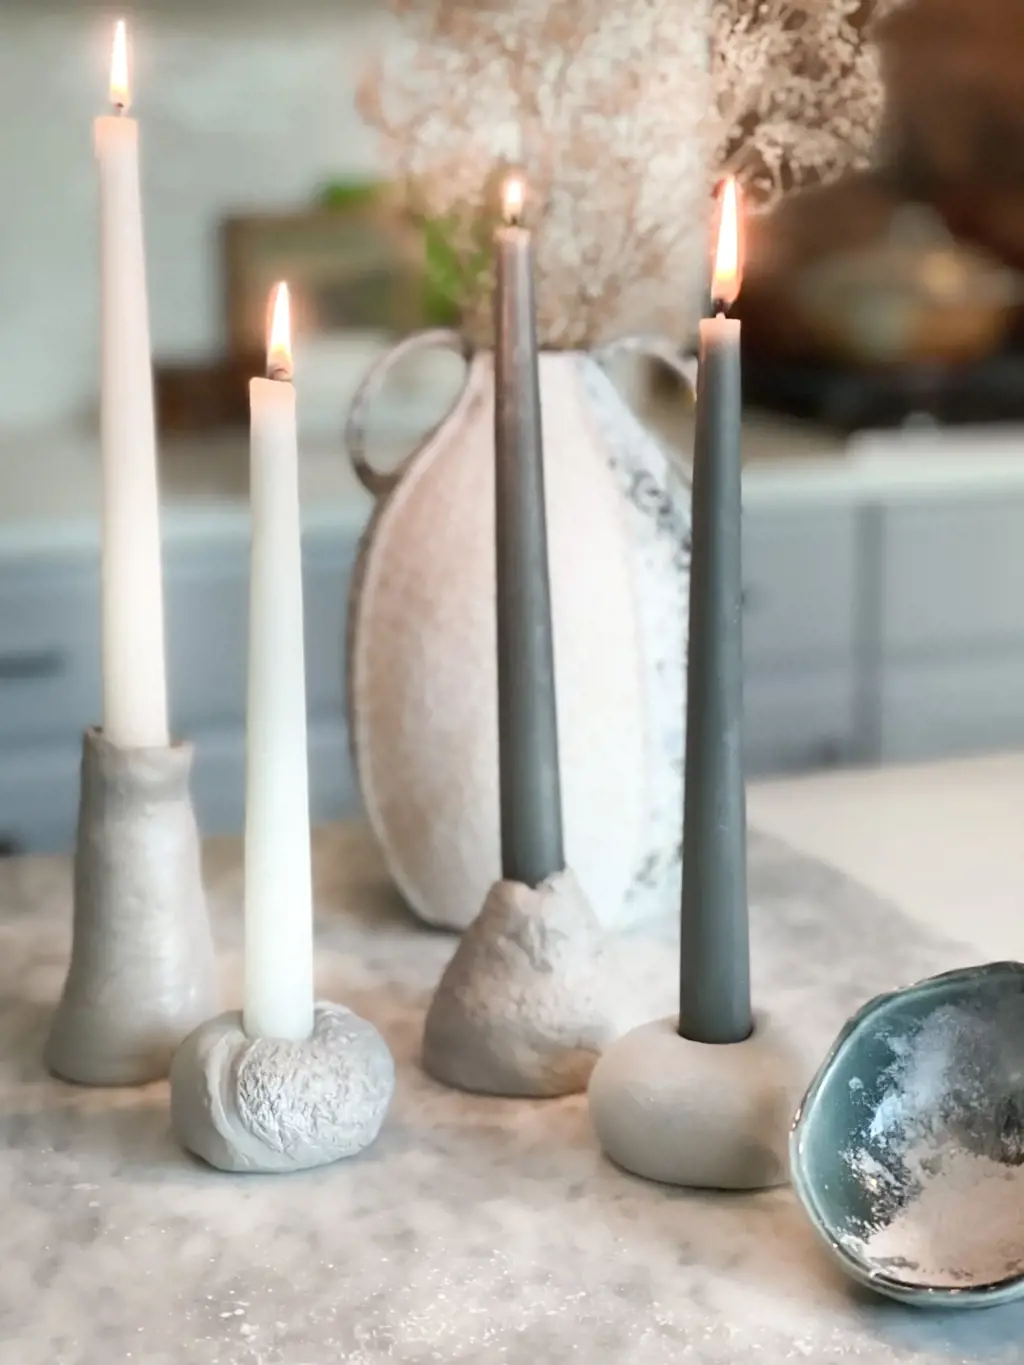
If you're a fan of Snapple drinks and hate tossing away the bottles once you've finished them, we have an amazing craft idea for you! Why not repurpose those Snapple bottles into gorgeous homemade candle holders? Not only will you be reducing waste, but you'll also have unique and stylish additions to your home décor.
Here's how you can turn your Snapple bottles into beautiful candle holders:
Materials Needed:
- Empty Snapple bottles (cleaned and labels removed)
- Acrylic paints in your choice of colors
- Paintbrushes
- Painter's tape
- Votive candles
Instructions:
Clean and Prepare the Bottles:
Make sure you thoroughly clean the Snapple bottles. Remove any remaining residue from the labels and wash them using warm soapy water. Dry the bottles completely before starting the crafting process.
Design and Tape:
Think about the design you want for your candle holders. You can go with simple patterns, stripes, or even more intricate designs. Use painter's tape to mark off the areas you want to paint, creating clean lines and defined sections for your artwork.
Paint Away:
Now it's time to get creative! Choose your favorite acrylic paint colors and start painting the marked sections on the Snapple bottles. You can use different brushes and techniques to achieve various effects. Let the paint dry completely before moving on to the next step.
Remove the Painter's Tape:
Once the paint has dried, carefully remove the painter's tape. This step is essential to reveal the clean lines and design of your candle holders. Take your time when removing the tape to avoid damaging the paintwork.
Insert the Candles:
Once your Snapple bottle candle holders are dry and the tape has been removed, check that the paintwork looks neat and even. You can make any touch-ups if necessary. Finally, pop in your chosen votive candles and light them up to enjoy the warm and cozy glow!
Tips and Tricks:
- Experiment with different paint colors and techniques to create unique patterns and textures on your candle holders.
- If you want a more transparent look, consider using glass paints instead of acrylic paints. These will give your candle holders a stained glass effect.
- Consider adding additional decorations such as ribbons, beads, or twine around the neck of the bottle to enhance the overall aesthetic.
Don't let those empty Snapple bottles go to waste! Instead, transform them into stunning homemade candle holders that will elevate your home décor. Get creative with designs, colors, and techniques, and enjoy the cozy ambiance these candle holders will bring to your space. So, the next time you enjoy a refreshing Snapple drink, remember to save the bottle for your next crafting project!
12 Fun Things to Do in Solana Beach
You may want to see also
![]()
Seedling starters for your garden
If you're an avid gardener or someone looking to start their own garden, you may be wondering how to efficiently and eco-friendly start your seedlings. Look no further than your empty Snapple bottles!
Snapple bottles, with their wide mouths and sturdy construction, make the perfect containers for starting seedlings. Here's a step-by-step guide on how to use Snapple bottles as seedling starters:
- Collect empty Snapple bottles: Make sure to rinse out and remove any labels or residue from the bottles. It's also a good idea to remove the cap to allow for proper airflow.
- Prepare the bottles: Using a utility knife or scissors, carefully cut off the top portion of the bottle, leaving a container with a wide mouth. This will serve as your seedling starter pot.
- Create drainage holes: Using a small nail or drill, create a few small holes in the bottom of the bottle to allow for proper drainage. This will prevent water from accumulating and causing root rot.
- Adding potting mix: Fill the Snapple bottle container with a good-quality potting mix, leaving about 1 inch of space at the top. Gently pat down the soil to remove any air pockets.
- Planting the seeds: Carefully sow your seeds according to the instructions on the seed packet. Make sure not to overcrowd the container, as this can hinder the growth of the seedlings.
- Watering and care: Water the seedlings regularly, making sure not to overwater. Snapple bottles are great at retaining moisture, so be mindful not to drown your seedlings. Place your seedling starters in a sunny location, ensuring they receive adequate light for growth.
- Transplanting: Once your seedlings have grown and are ready for transplant, carefully remove them from the Snapple bottle containers. Gently loosen the roots, and transplant them into larger pots or directly into your garden.
Using Snapple bottles as seedling starters not only helps you repurpose empty bottles but also provides a convenient and economical solution for starting your garden. The wide-mouthed design of the bottles allows for easy planting, and their sturdy construction ensures the seedlings are protected during the initial growth stages.
Next time you finish a bottle of Snapple, don't throw it away - use it as a seedling starter for your garden. You'll be amazed at how well your seedlings thrive in these repurposed containers. Happy gardening!
10 Unique Activities Near Pearl District to Explore
You may want to see also
![]()
Unique water bottles for workouts or on-the-go hydration
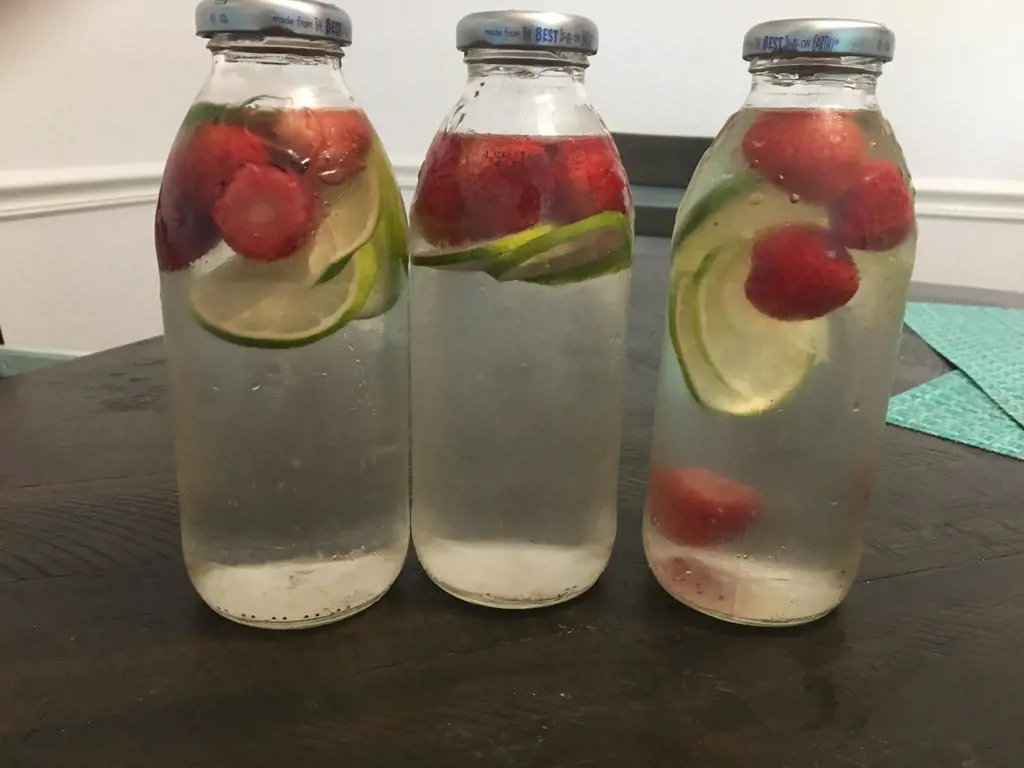
Staying hydrated is an essential part of any workout or busy day on the go. While there are many water bottle options on the market, Snapple bottles can provide a unique and fun way to quench your thirst. Here are a few creative ideas on how to repurpose Snapple bottles for your hydration needs.
- Infused Water: Snapple bottles with their wide mouth make them perfect for creating infused water. Simply fill the bottle with water and add your choice of fruits, herbs, or even vegetables. Let it steep for a few hours or overnight in the refrigerator, and you'll have a refreshing and flavorful drink to take with you on your workouts or commute.
- Protein Shake Container: Snapple bottles are also ideal for carrying protein shakes. The sturdy construction of the bottle ensures that it won't leak or break when carrying your shake in your gym bag or backpack. Fill it with your favorite protein powder and water or milk, and shake it up whenever you need a quick dose of protein during your workout or busy day.
- Smoothie To-Go: If you're a smoothie lover, Snapple bottles can be a great option for taking your favorite blended beverages with you. Blend your smoothie as usual and pour it into the Snapple bottle. The wide mouth allows for easy filling and drinking. Plus, the bottle keeps your smoothie chilled and prevents it from spilling in your bag.
- Cold Brew Coffee: For all the coffee enthusiasts out there, Snapple bottles can be a convenient way to carry your cold brew coffee. Brew your coffee overnight using your preferred method, and then pour it into the Snapple bottle in the morning. The tight-fitting lid ensures that your coffee remains fresh and spill-free throughout the day.
- Fruit-infused Iced Tea: If you prefer tea over water, Snapple bottles can be used to make your own fruit-infused iced tea. Brew a pot of your favorite tea and let it cool. Add slices of fresh fruit or herbs to the Snapple bottle and pour the tea over it. Let it steep in the refrigerator, and you'll have a delicious and refreshing beverage to take with you wherever you go.
Remember to wash your Snapple bottle thoroughly before repurposing it for hydration to ensure that it is clean and ready to use. With their durable construction and unique shape, Snapple bottles are a versatile option for staying hydrated during workouts or while on the go. So, the next time you finish a Snapple, don't throw away the bottle – repurpose it for your hydration needs!
Exploring the Charming Attractions and Activities in Columbiana, Ohio
You may want to see also
![]()
DIY bird feeders for your backyard
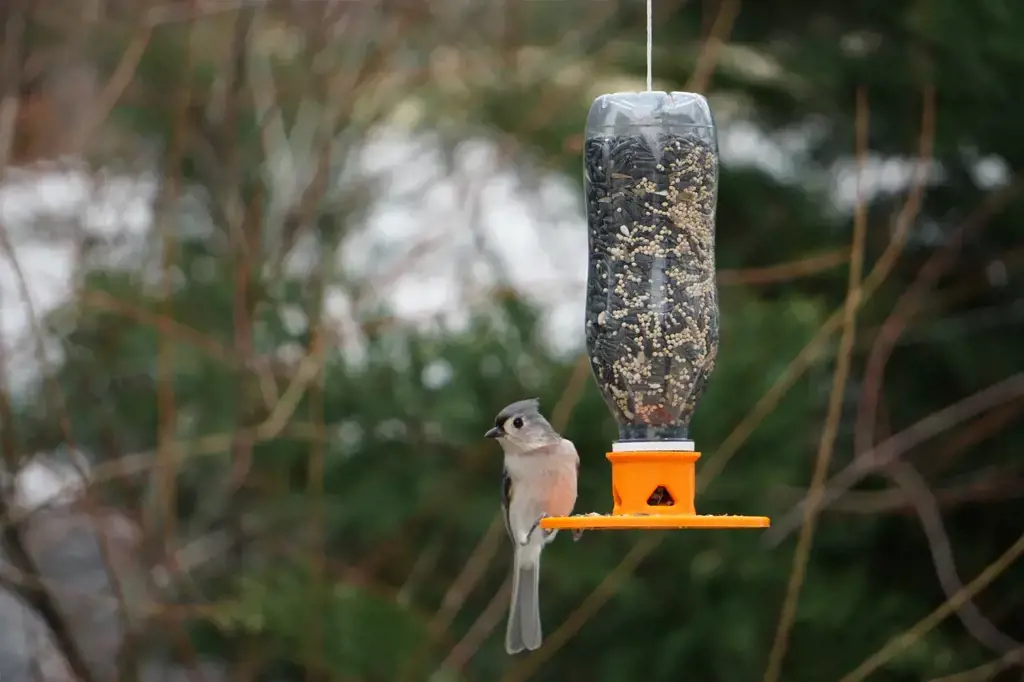
If you’re looking for a fun and creative way to attract birds to your backyard, why not try making DIY bird feeders out of Snapple bottles? Not only is it a great way to upcycle and repurpose these bottles, but it’s also a fun activity for the whole family. In this article, we will walk you through the steps of creating your own Snapple bottle bird feeder.
Here’s what you’ll need:
- Empty Snapple bottle
- Sharp knife or scissors
- Wooden dowel or stick
- Birdseed
- String or wire
- Optional: acrylic paint or decorative materials
Step 1: Thoroughly clean the Snapple bottle
Start by rinsing out the Snapple bottle with warm soapy water. Make sure to remove any lingering residue or labels. Dry the bottle completely before moving on to the next step.
Step 2: Cut holes for birds to access the birdseed
Using a sharp knife or scissors, carefully cut two small holes opposite each other on the bottle, about 2 inches above the bottom. These holes will serve as openings for the birds to reach the birdseed inside the bottle. Make sure the holes are large enough for the birds to comfortably eat from but not big enough for the birdseed to spill out.
Step 3: Insert the wooden dowel or stick
Take the wooden dowel or stick and insert it through the holes you just made. This will serve as a perch for the birds to stand on while they enjoy their meal. Make sure the dowel or stick is securely in place and extends a few inches on either side.
Step 4: Fill the bottle with birdseed
Carefully pour birdseed into the bottle through the top opening until it is about three-quarters full. Avoid overfilling, as it may cause the birdseed to spill out when the birds land on the perch.
Step 5: Create a handle or hanger
Using string or wire, create a handle or hanger to hang the Snapple bottle bird feeder from a tree branch or hook. Make sure it is securely attached to prevent the bird feeder from falling or swinging excessively.
Step 6: Optional: Decorate the bird feeder
If you want to add a personal touch to your Snapple bottle bird feeder, consider painting it with acrylic paint or decorating it with other materials. This step is entirely optional but can make your bird feeder stand out and add a pop of color to your backyard.
Step 7: Hang and enjoy
Find a suitable location in your backyard to hang the bird feeder. Ideally, it should be in an area that is easily accessible for birds but away from any potential predators. Fill the bird feeder with fresh birdseed regularly and enjoy watching the birds come and go throughout the day.
By repurposing Snapple bottles into bird feeders, you not only create a sustainable solution but also provide much-needed nourishment for our feathered friends. It’s a win-win for both the environment and the wildlife in your backyard. So go ahead and give this DIY project a try and enjoy the beauty of nature right outside your window.
12 Activities to Explore in Oberammergau
You may want to see also
![]()
Note: Locations were not applicable for this topic
Snapple bottles are not just your average beverage containers. With their unique shape and convenient size, they can be repurposed into a variety of creative and practical items. So don't just toss them into the recycling bin – try out these fun and eco-friendly ideas for things to do with Snapple bottles.
- Vase: Cut the top off a Snapple bottle and remove the label. Fill the bottom with water and arrange your favorite flowers inside. You now have a charming homemade vase that adds a touch of whimsy to any room.
- Coin bank: Clean out a Snapple bottle and cut a small slit in the lid. Use it to store loose change and watch your savings grow. When it's full, simply unscrew the lid and cash in your coins.
- Candle holder: Remove the label and fill a Snapple bottle with sand or decorative stones. Add a small votive candle and enjoy a soft, warm glow in the evening. This easy DIY project is perfect for creating a cozy atmosphere indoors or outdoors.
- Herb garden: Cut the bottom off a Snapple bottle, fill it with potting soil, and plant herbs or small plants. Place it on a windowsill or hang it from a hook using twine. This upcycled planter is an ideal way to grow fresh herbs in limited space.
- Watering can: Poke small holes into the lid of a Snapple bottle, fill it with water, and you have a homemade watering can. This simple solution is great for watering indoor plants or small gardens.
- Bird feeder: Cut out a small window near the bottom of a Snapple bottle, fill it with birdseed, and hang it from a tree branch or hook. This easy bird feeder will attract a variety of feathered friends to your yard for hours of birdwatching enjoyment.
- Travel-sized toiletries container: Clean out a Snapple bottle and pour in your favorite shampoo, conditioner, or body wash. The small size makes it perfect for travel or for keeping in your gym bag.
- DIY snow globe: Remove the label and fill a Snapple bottle halfway with water. Add a small figurine or ornament and a sprinkle of glitter. Seal the lid with hot glue or epoxy and give it a gentle shake to create a magical snow globe.
- Paint storage: Use Snapple bottles to store small amounts of leftover paint for touch-ups and small projects. The secure lid will keep your paint fresh and ready to use when needed.
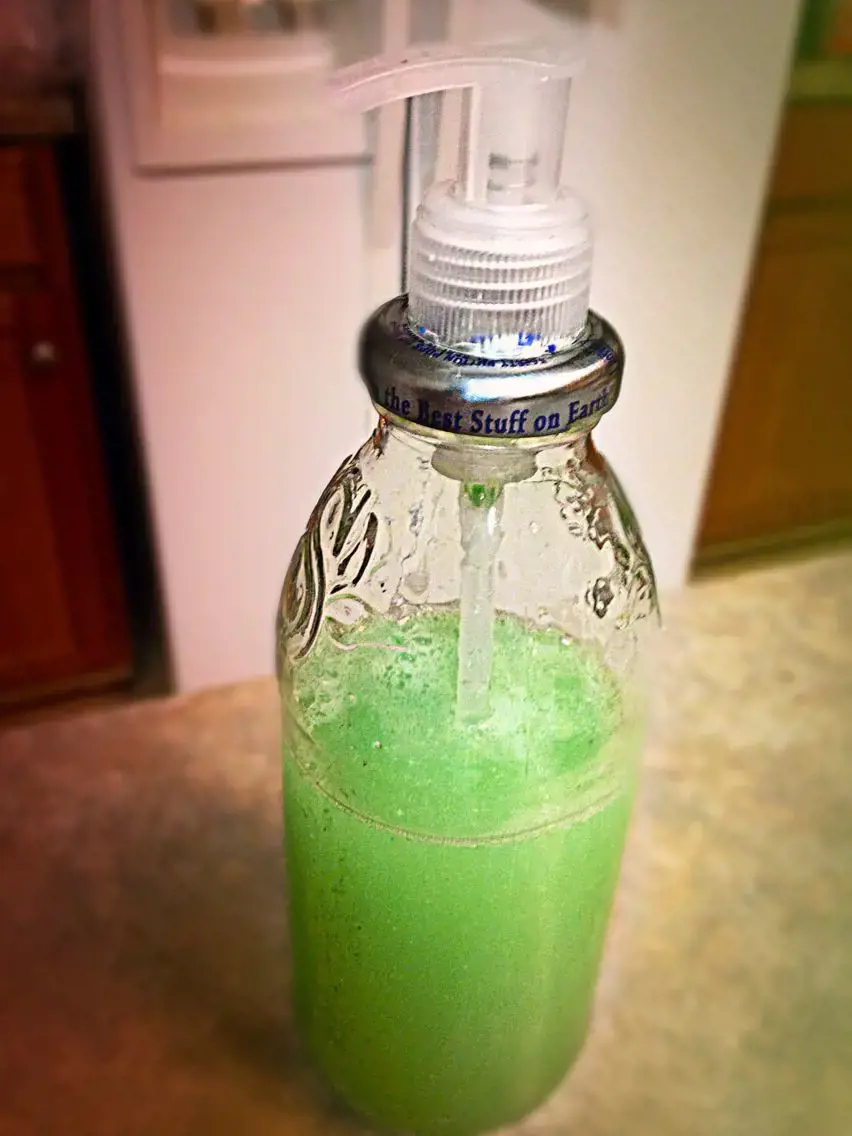
- DIY spray bottle: Remove the label and fill a Snapple bottle with a homemade cleaning solution. Replace the lid with a trigger spray top from a standard spray bottle, and you have a reusable spray bottle for cleaning around the house.
These are just a few ideas to get you started on the endless possibilities for repurposing Snapple bottles. Get creative and think outside the box – you never know what useful and beautiful things you can create with these versatile containers. Not only will you be helping the environment by reusing them, but you'll also have fun in the process. So next time you finish a Snapple bottle, don't throw it away – let your creativity flow and give it a second life!
12 Exciting Activities to Experience in West Springfield MA
You may want to see also
Frequently asked questions
Yes, Snapple bottles can definitely be reused! Many people enjoy repurposing Snapple bottles for various purposes such as water bottles, homemade salad dressing containers, or even flower vases. Simply wash out the bottle thoroughly and remove the label to create a clean and functional container for your needs.
Removing the Snapple label from the bottle is quite easy. Start by peeling off as much of the label as possible. Then, soak the bottle in warm soapy water for about 10-15 minutes to loosen any remaining adhesive. Use a sponge or scrub brush to gently rub away the adhesive until the bottle is clean. If there are any stubborn spots, you can use rubbing alcohol or nail polish remover on a cotton ball to further remove the adhesive.
Yes, Snapple bottles are recyclable! Most Snapple bottles are made of PET (polyethylene terephthalate) plastic, which is widely accepted for recycling. Check with your local recycling program to see if they accept PET plastic bottles. Remember to empty and rinse the bottle before recycling to prevent contamination.
While most Snapple bottles are recyclable, the same may not apply to the bottle caps. The caps are typically made of different types of plastic, such as polypropylene or high-density polyethylene, which may not be accepted by all recycling programs. To ensure proper recycling, check with your local recycling program or facility for their specific guidelines on recycling bottle caps.


5 Comments
Aya Fuentes
Clementine Mcmillan
Susan Meyers
AuthorJosephine Wang
Jose Ramos
Author